

In this article, you will learn how to set up and use Prisma ORM in the new Next.js 13 app directory. We’ll cover everything from initializing Prisma to seeding the database with test data and applying migrations.
But we won’t stop there! We’ll take things a step further and create a fully functional CRUD API in the Next.js 13 API route handlers using the Web Request and Response APIs.
While the Next.js 13 app directory is still an experimental feature at the time of writing, the Next.js team has announced that it will become stable in a few months. So why wait? Let’s dive right into the tutorial and learn how to set up Prisma in the Next.js 13 app directory.
More practice:
- How to Setup React Context API in Next.js 13 App Directory
- How to Setup React Query in Next.js 13 App Directory
- How to Setup Redux Toolkit in Next.js 13 App Directory
- Setup tRPC Server and Client in Next.js 13 App Directory
- Setup and Use NextAuth.js in Next.js 13 App Directory
- React Query and Axios: User Registration and Email Verification
- Forgot/Reset Passwords with React Query and Axios

Setup the Next.js 13 Project
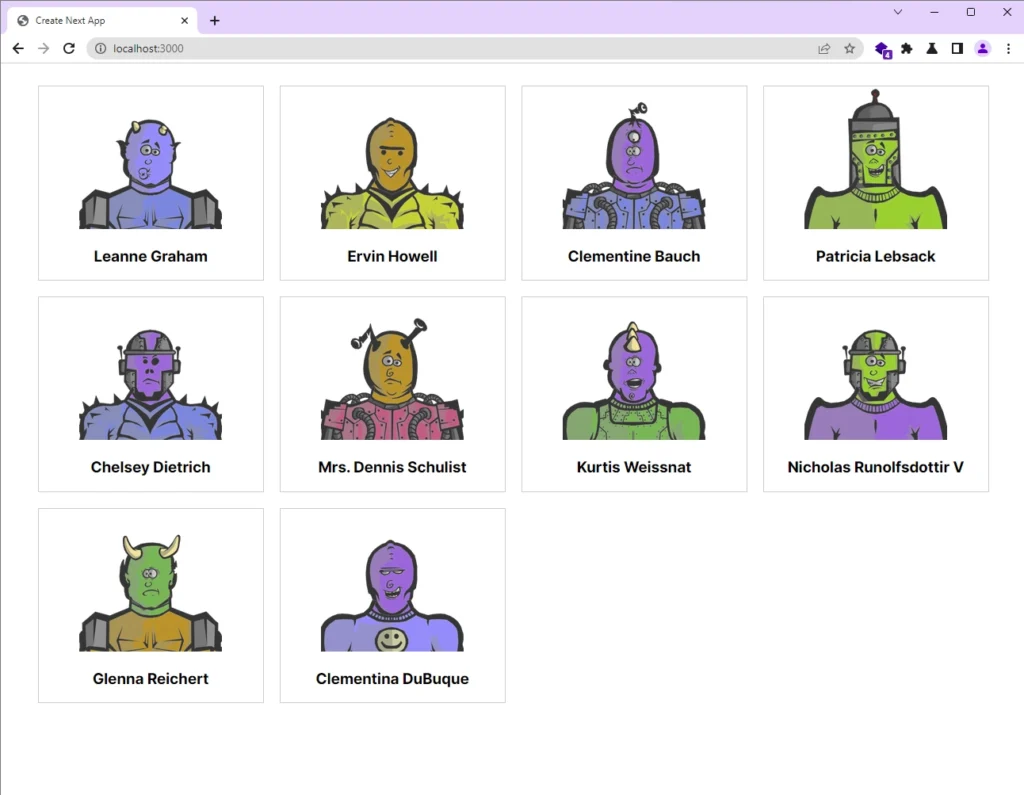
Once you have completed the steps outlined in this article, you will have a fully functional application that is capable of fetching a list of users from your database and displaying them in the user interface. You can see an example of what this looks like in the screenshot below.
To begin creating a new Next.js 13 project, you’ll need to select a directory on your computer to store the project’s source code. Once you have done so, you can start scaffolding the project by running a command specific to your preferred package manager. Here are the available commands:
yarn create next-app nextjs13-prisma-setup
# or
npx create-next-app@latest nextjs13-prisma-setup
# or
pnpm create next-app nextjs13-prisma-setup
In this tutorial, I’ll be using PNPM. However, feel free to use NPM or Yarn instead if you prefer.
During the setup process, you’ll encounter several prompts that require your attention. Firstly, you’ll be asked to enable TypeScript and ESLint, which are crucial for building a robust and maintainable application. Make sure to select “Yes” for both prompts.
Next, you’ll be prompted to use the src/ directory for proper project organization. This is a best practice that can help keep your codebase clean and maintainable, so choose “Yes” for this option. After choosing to use the src/ directory, you’ll be prompted to enable the experimental app/ directory. Since this tutorial is based on the app directory, choose “Yes” for this option.
Once you have responded to all of these prompts, the scaffolding process will begin, and all necessary dependencies will be automatically installed. After the installation is complete, you can open the project in your favourite IDE or text editor and get started with building your Next.js app!
Setup Prisma ORM
Now it’s time to dive into Prisma! There are two packages you’ll need to install to get started: the Prisma CLI and the Prisma Client. The Prisma CLI is a tool that helps you manage your database by creating and applying migrations, pulling the database schema, and pushing the migrations to the database. It’s only necessary for development mode or possibly in your CI/CD pipeline, so it should be installed as a dev dependency.
The Prisma Client, on the other hand, is a type-safe database client that will handle all the low-level details of connecting to the database and executing the query, so you don’t have to write SQL queries directly. Depending on your preferred package manager, run one of the commands below to install both packages.
pnpm add @prisma/client
pnpm add -D prisma
# or
yarn add @prisma/client
yarn add -D prisma
# or
npm i @prisma/client
npm i -D prisma
Next, you will initialize Prisma for the project. To keep things simple, we’ll use SQLite in this tutorial instead of setting up a Postgres or MySQL database. To do this, run the following command:
pnpm prisma init --datasource-provider sqlite
# or
yarn prisma init --datasource-provider sqlite
# or
npx prisma init --datasource-provider sqlite
After running one of the above commands, Prisma will generate a new folder in the root directory of your project named ‘prisma‘, which contains the necessary configuration files for working with your database. Additionally, a .env file will also be created to store the database connection URL.
By default, Prisma initializes with PostgreSQL as the default data source provider. However, since we have chosen SQLite as our database, we have to explicitly specify this using the --datasource-provider sqlite flag during the initialization process. This will configure Prisma to use SQLite as the data source provider.
Next, we need to define our Prisma model. We’ll create a User model with basic fields, excluding the password field. This means we won’t dive into authentication-related tasks like hashing passwords or generating JWTs to keep the project simple and focus on using Prisma in the new Next.js 13 app directory.
To define the user model, open the schema.prisma file in the prisma directory and replace the existing code with the one below.
prisma/schema.prisma
generator client {
  provider = "prisma-client-js"
}

datasource db {
  provider = "sqlite"
  url      = env("DATABASE_URL")
}

model User {
  id        String   @id @default(uuid())
  name      String
  email     String   @unique
  role      String
  createdAt DateTime @default(now())
  updatedAt DateTime @updatedAt
}
Now that we have made changes to our schema, we need to inform Prisma about them. Prisma treats schema changes as database migrations, which means you can apply them to the database and also create a way to roll them back in case something goes wrong.
This is particularly useful when making changes to a production environment, where you want the ability to revert any changes in case of bugs or issues. To create our first Prisma migration, run the following command:
pnpm prisma migrate dev --name init
# or
npm prisma migrate dev --name init
# or
yarn prisma migrate dev --name init
After executing one of the commands above, Prisma will create a unique migration for our schema and apply the changes to the connected database. This ensures that the database is synchronized with our schema. Additionally, Prisma generates the Prisma Client in the node_modules folder and ensures that all TypeScript type definitions are up to date.
Since the Prisma Client is stored in the node_modules folder and not committed to Git, we need to regenerate the type definitions when building or deploying the application. We can do this either by generating them during installation or as part of the build process.
To generate them during the build process, we can modify the build script as follows: "build": "prisma generate && next build". This ensures that the TypeScript type definitions for the schema are generated before building the project. Here’s what your package.json file’s ‘scripts‘ section should look like after the modification:
package.json
{
  "scripts": {
    "dev": "next dev",
    "build": "prisma generate && next build",
    "start": "next start",
    "lint": "next lint"
  }
}
Seeed the Database
We’ve completed the schema migration and generated the Prisma client. However, our users table in the database is currently empty. To add a test user, we can make use of Prisma’s database seeding feature.
To use this with TypeScript in a Next.js project, there are a few additional steps we need to take. First, we must install the ts-node package which allows us to execute the seed script written in TypeScript. To do this, simply run the following command:
pnpm add -D ts-node
# or
npm i -D ts-node
# or
yarn add -D ts-node
Now that we have installed ts-node, we can start writing the seed script. To create the script, go to the prisma folder and create a new file named seed.ts. This file will be executed automatically by Prisma after it runs migrations or updates or resets the database. You can use any name for this file, but seed.ts is a common one.
prisma/seed.ts
import { PrismaClient } from "@prisma/client";

const prisma = new PrismaClient();

async function main() {
  const user = await prisma.user.upsert({
    where: { email: "admin@admin.com" },
    update: {},
    create: {
      name: "Admin",
      email: "admin@admin.com",
      role: "admin",
    },
  });

  console.log({ user });
}

main()
  .then(() => prisma.$disconnect())
  .catch(async (e) => {
    console.error(e);
    await prisma.$disconnect();
    process.exit();
  });
This script uses the PrismaClient to add a new user to the database. When executed, it checks whether a user with the email "admin@admin.com" already exists. If so, it updates that user’s information. If not, it creates a new user with the given information. The console.log({ user }) line prints the user information to the console for verification purposes.
Note that the prisma.$disconnect() call at the end of the script is used to gracefully shut down the Prisma client connection after the script completes.
Occasionally, when working with Prisma in VS Code, the editor may not immediately recognize the type definitions of the Prisma Client. If this happens, you can simply reload the editor to resolve the issue and start benefiting from Intellisense.
To use the Prisma seeding feature, you need to specify a command in the "seed" key of the "prisma" section in your package.json file. This tells Prisma what script to run to seed the database. To do this, simply add the following code to your package.json file, which includes the required keys and command:
package.json
{
  "prisma": {
    "seed": "ts-node --compiler-options {\"module\":\"CommonJS\"} prisma/seed.ts"
  }
}
Once you’ve added this code to your package.json file, you can seed the database with the test user by running any of the commands below.
pnpm prisma db seed
# or
npx prisma db seed
# or
yarn prisma db seed
Instantiate the Prisma Client
When working with the Prisma Client, it’s common to create a new instance in every file that needs to communicate with the database. However, doing this can lead to creating new connections into your database, which is not ideal since the Prisma Client already has pooling built-in. Instead, we only need one instance of the Prisma Client in our application at any given time. This approach is known as a Singleton pattern.
To implement this pattern, we can create a lib folder in the src directory and add a prisma.ts file to it. This file should contain the following code:
src/lib/prisma.ts
import { PrismaClient } from "@prisma/client";

const globalForPrisma = global as unknown as { prisma: PrismaClient };

export const prisma =
  globalForPrisma.prisma ||
  new PrismaClient({
    log: ["query"],
  });

if (process.env.NODE_ENV != "production") globalForPrisma.prisma;
This code ensures that we only have one instance of the Prisma Client in our application, by using the global object to create a global variable prisma. The prisma variable is either set to the existing global.prisma instance, or it creates a new instance if it doesn’t exist yet. By doing this, we can reuse the same prisma instance across our entire application.
How to Use Prisma in React Server Component
Since Next.js 13 apps have server-side rendering enabled by default, we can easily use our Prisma client to query the database directly in our components instead of making API calls to retrieve the data. To achieve this, open the src/app/page.tsx file and add the following code to it:
src/app/page.tsx
import { prisma } from "@/lib/prisma";

export default async function Home() {
  let users = await prisma.user.findMany();
  return (
    <main style={{ maxWidth: 1200, marginInline: "auto", padding: 20 }}>
      <div
        style={{
          display: "grid",
          gridTemplateColumns: "1fr 1fr 1fr 1fr",
          gap: 20,
        }}
      >
        {users.map((user) => (
          <div
            key={user.id}
            style={{ border: "1px solid #ccc", textAlign: "center" }}
          >
            <img
              src={`https://robohash.org/${user.id}?set=set2&size=180x180`}
              alt={user.name}
              style={{ height: 180, width: 180 }}
            />
            <h3>{user.name}</h3>
          </div>
        ))}
      </div>
    </main>
  );
}
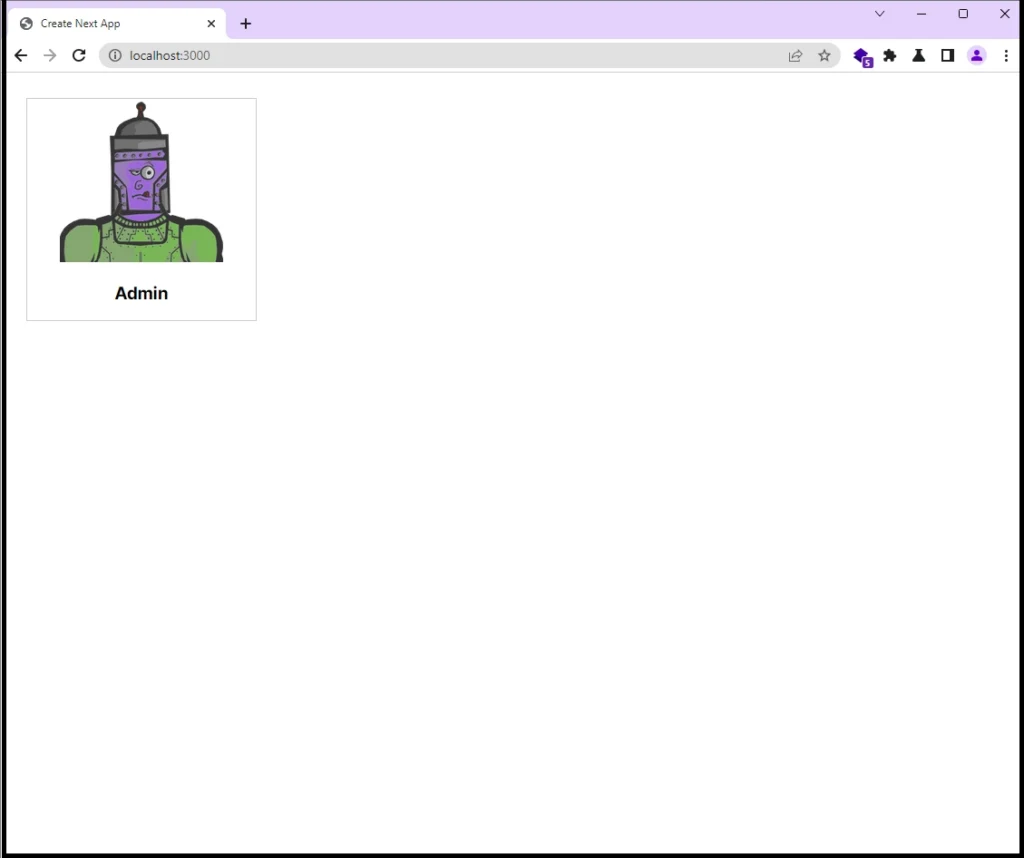
The above code retrieves a list of users from the database and passes it to the UI template to display them. As of now, we only have a single test user in the database. To test the application, you need to comment out the import './globals.css' statement in the src/app/layout.tsx file.
This way, we can get rid of the default styles that come with the Next.js project. After commenting it out, start the Next.js dev server. When you visit the root route http://localhost:3000/, you should see the single user displayed on the screen.
How to Use Prisma in Next.js 13 Route Handlers
In this section, we will showcase how Prisma can be utilized in the API route handlers of a Next.js 13 application. To achieve this, we will perform various CRUD (Create, Read, Update, and Delete) operations on our SQLite database. Specifically, we will create endpoints for inserting new users, updating existing users, fetching a single user, fetching all users, and deleting a user.
Handle POST and GET Requests
Let’s start by creating static route handlers for fetching all users and inserting a user into the database. To achieve this, navigate to the src/app/api directory and create a new folder called ‘users‘. Within this folder, create a new file named route.ts and add the following code to it:
src/app/api/users/route.ts
import { prisma } from "@/lib/prisma";
import { NextResponse } from "next/server";

export async function GET(request: Request) {
  const users = await prisma.user.findMany();
  return NextResponse.json(users);
}

export async function POST(request: Request) {
  try {
    const json = await request.json();

    const user = await prisma.user.create({
      data: json,
    });

    return new NextResponse(JSON.stringify(user), {
     status: 201,
     headers: { "Content-Type": "application/json" },
    });
  } catch (error: any) {
    if (error.code === "P2002") {
      return new NextResponse("User with email already exists", {
        status: 409,
      });
    }
    return new NextResponse(error.message, { status: 500 });
  }
}
Handle GET, PATCH, and DELETE Requests
Next, we will create dynamic route handlers for fetching a single user, updating a user, and deleting a user. This involves creating a new folder called [id] within the src/app/api/users directory, and within that folder, create a route.ts file and add the following code:
src/app/api/users/[id]/route.ts
import { prisma } from "@/lib/prisma";
import { NextResponse } from "next/server";

export async function GET(
  request: Request,
  { params }: { params: { id: string } }
) {
  const id = params.id;
  const user = await prisma.user.findUnique({
    where: {
      id,
    },
  });

  if (!user) {
    return new NextResponse("No user with ID found", { status: 404 });
  }

  return NextResponse.json(user);
}

export async function PATCH(
  request: Request,
  { params }: { params: { id: string } }
) {
  const id = params.id;
  let json = await request.json();

  const updated_user = await prisma.user.update({
    where: { id },
    data: json,
  });

  if (!updated_user) {
    return new NextResponse("No user with ID found", { status: 404 });
  }

  return NextResponse.json(updated_user);
}

export async function DELETE(
  request: Request,
  { params }: { params: { id: string } }
) {
  try {
    const id = params.id;
    await prisma.user.delete({
      where: { id },
    });

    return new NextResponse(null, { status: 204 });
  } catch (error: any) {
    if (error.code === "P2025") {
      return new NextResponse("No user with ID found", { status: 404 });
    }

    return new NextResponse(error.message, { status: 500 });
  }
}
Make Requests in a Client-Side Component
When building a component that only needs to fetch a list of users from the database, you may wonder why not use the Prisma Client directly instead of making an API call.
Well, the Prisma Client is designed to communicate with a database through a Node.js runtime. This means that when the component is rendered on the client side, which runs in a browser environment, not in a Node.js runtime, the Prisma Client cannot be used directly.
So, what’s the solution? We need to make an API call to our API routes to fetch the required data. There are multiple ways to fetch data client-side in Next.js, but we’re taking it back to the good old days by using the Fetch API. Together with a new React hook called use, we can easily fetch the list of users and display it in our component without any issues.
To begin, let’s create a new component that will show the list of users on the client-side. Head over to the ‘src‘ directory, create a folder called ‘components‘, and inside it, add a file named listusers.component.tsx with the code provided below.
src/components/listusers.component.tsx
"use client";

import { User } from "@prisma/client";
import React, { cache, use } from "react";

const getUsers = cache(() =>
  fetch("http://localhost:3000/api/users").then((res) => res.json())
);

export default function ListUsers() {
  let users = use<User[]>(getUsers());

  return (
    <div
      style={{
        display: "grid",
        gridTemplateColumns: "1fr 1fr 1fr 1fr",
        gap: 20,
      }}
    >
      {users.map((user) => (
        <div
          key={user.id}
          style={{ border: "1px solid #ccc", textAlign: "center" }}
        >
          <img
            src={`https://robohash.org/${user.id}?set=set2&size=180x180`}
            alt={user.name}
            style={{ height: 180, width: 180 }}
          />
          <h3>{user.name}</h3>
        </div>
      ))}
    </div>
  );
}
The code above includes a "use client"; directive at the beginning of the file, which instructs Next.js to render this component only on the client side.
Add the Component to the Main Page
Now that we’ve created a component to display the list of users on the client side, we’ll need to integrate it into our main file to render it. Although ListUsers is a Client Component, we can render it in the Server Component src/app/page.tsx, thanks to the "use client"; directive placed at the beginning of the listusers.component.tsx file.
To do this, open the src/app/page.tsx file and replace its contents with the following code:
src/app/page.tsx
import ListUsers from "@/components/listusers.component";

export default async function Home() {
  return (
    <main style={{ maxWidth: 1200, marginInline: "auto", padding: 20 }}>
      <ListUsers />
    </main>
  );
}
Now that the project is complete, it’s time to test the application. Currently, the database only has one test user, and to test the application thoroughly, we need to add more users, ideally up to 10. To accomplish this, we can use an API testing client like Postman or the Thunder Client VS Code extension.
Fortunately, I have included a Postman collection named Next.js 13 Users API.postman_collection.json in the project’s repository, which you can easily import into either Postman or the Thunder Client VS Code extension. This collection includes predefined requests, including the HTTP methods, the URL paths, and the required request bodies, to save you time and effort.
Once you have access to the collection, you can use it to make HTTP requests to the API to insert new users. You can also explore the GET, PATCH, and DELETE endpoints. After adding the users, go to the home page at http://localhost:3000/, and you should see the users you added displayed in the UI.
Conclusion
And we are done! We’ve covered a lot in this tutorial, from setting up Prisma ORM in the new Next.js 13 app directory to seeding the database with test data for efficient development. We also dived into performing CRUD operations using the Prisma Client in Next.js API route handlers.
I hope you found this guide helpful and informative. If you have any questions or feedback, please leave a comment below. Thank you for reading!
Great guide! First one I found to go over setting up prisma with route handlers. My only question is why you used cache() in the listusers component? As per the Next.js docs: “By default, all fetch() requests are cached and deduplicated automatically. This means that if you make the same request twice, the second request will reuse the result from the first request.”
You are absolutely correct that the Fetch function in the App directory automatically caches requests by default.
However, in the guide, I intentionally included the
cache()function to highlight the usage of the newuse()hook introduced in React 18. This way, readers can become aware of its usage.The reason behind this decision is that, at the time of writing the article, using the
use()hook alone would have resulted in an infinite loop.To address this issue, the Next.js team introduced the
cache()hook, which is designed to be used alongside theuse()hook in order to prevent the occurrence of an infinite loop.Thank you very much for this comprehensive How to!!
It seems that using to fetch the data in a client component with react cache and “use” hook, we cannot benefit from the cache invalidation of nextJS.
An example of a mutation would be awesome to address this issue.
Hello. Shouldn’t you use the Next Image component instead of the ?
Thanks !
Yes, it’s recommended to use the Next Image component for optimal performance and automatic optimizations.
However, in this case, I intentionally chose to use the
imgtag to keep things simple and easier to understand for everyone.Thank you very much.
Great guide!