

Do you want to use React Context API to manage states globally and avoid prop drilling in your Next.js 13 app directory? If so, you’ve come to the right place. This article will guide you through the process of setting up and implementing the React Context API in your Next.js 13 app.
In React 18, the concept of Server Components was introduced, which allows developers to build applications that combine the interactivity of client-side apps with the performance benefits of server rendering. Next.js 13 Beta has embraced this concept and implemented it in the app/ directory, which uses Server Components by default.
However, because all components are server-rendered by default, integrating client-side libraries or APIs can be tricky. But fear not, as this article will show you how to overcome this challenge and leverage the power of the React Context API in your Next.js 13 app directory.
More practice:
- How to Setup React Query in Next.js 13 App Directory
- How to Setup Redux Toolkit in Next.js 13 App Directory
- React Query and Axios: User Registration and Email Verification
- Forgot/Reset Passwords with React Query and Axios

Setup the Next.js 13 Project
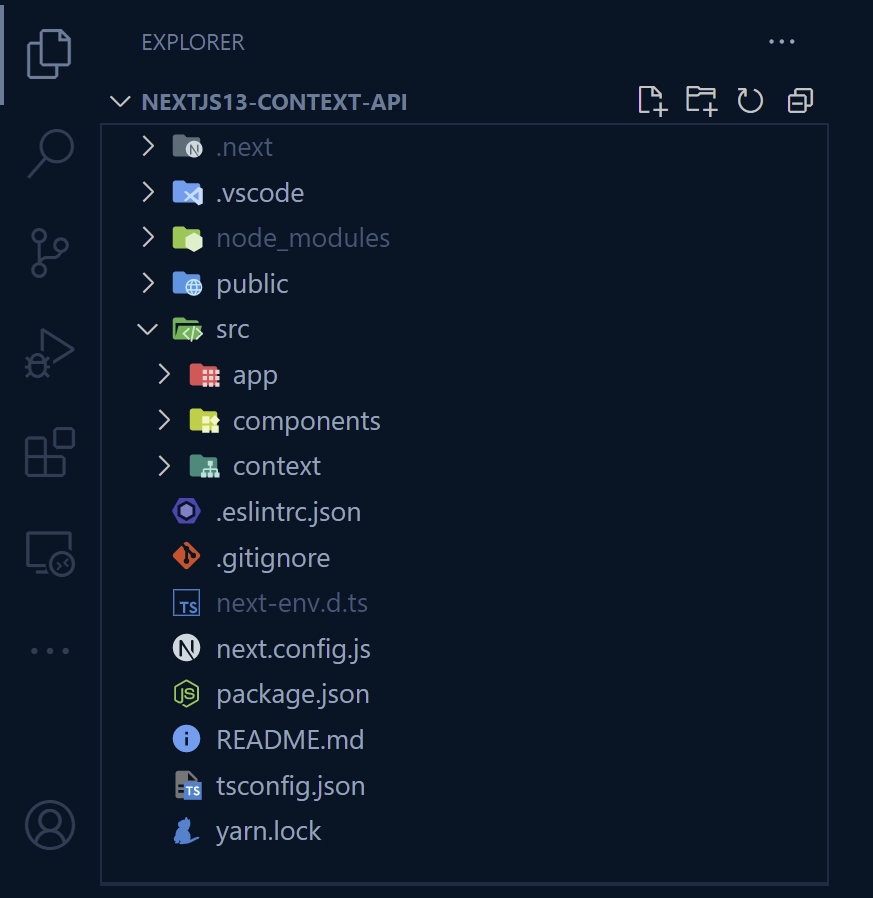
Once you’ve followed the steps outlined in this tutorial, your folder structure will resemble the one depicted in the screenshot below.
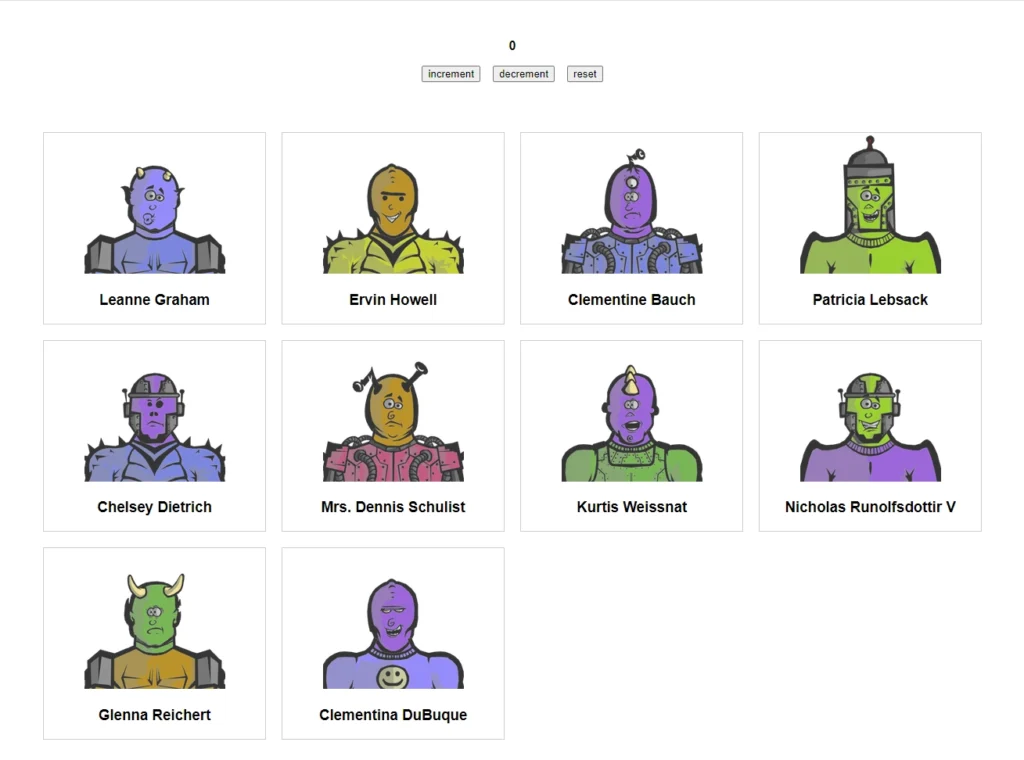
Also, you’ll have an application that includes a counter component, which utilizes the React Context API to manage its state. Furthermore, the app will retrieve a list of users from an API and display it beneath the counter component.
To begin, navigate to a location on your computer, such as your Desktop, where you want to store the project source code. Once you’re there, open a terminal in that directory. Then, depending on your preferred package manager, run one of the commands below to initiate the Next.js 13 project setup.
yarn create next-app nextjs13-context-api
# or
npx create-next-app@latest nextjs13-context-api
While setting up the project, you’ll be prompted to answer some questions that enable certain features in the Next.js 13 project. Make sure to select “Yes” for TypeScript and ESLint. If you’re asked whether you want to use the experimental app/ directory and the src/ directory, select “Yes” for both options. Lastly, when prompted for the type of import alias, press TAB to choose the first option and then press Enter.
Once you’ve answered these questions, the Next.js 13 project will be created and the necessary dependencies will be installed. After the dependencies have been installed, open the project in your preferred code editor.
Create the Context Provider
Since Next.js 13 defaults to server-side rendering for all components, creating a context using Context API in a Server Component will cause an error. To resolve this issue, we must create the context and render its provider within a Client Component. To achieve this, we can simply include the "use client"; flag at the top of the file.
With this in mind, let’s create a context that will allow us to increment, decrement, and reset a counter. To get started, navigate to the src directory and create a new folder called “context“. Inside this folder, create a file called counter.context.tsx and add the following code.
src/context/counter.context.tsx
"use client";

import React, { Dispatch, createContext, useReducer } from "react";

type StateType = {
  count: number;
};

type ActionType = {
  type: string;
};

const initialState: StateType = {
  count: 0,
};

const reducer = (state: StateType, action: ActionType) => {
  switch (action.type) {
    case "INCREMENT":
      return { ...state, count: state.count + 1 };
    case "DECREMENT":
      return { ...state, count: state.count - 1 };
    case "RESET":
      return { ...state, count: 0 };
    default:
      return state;
  }
};

export const CounterContext = createContext<{
  state: StateType;
  dispatch: Dispatch<ActionType>;
}>({ state: initialState, dispatch: () => null });

export const CounterContextProvider = ({
  children,
}: {
  children: React.ReactNode;
}) => {
  const [state, dispatch] = useReducer(reducer, initialState);

  return (
    <CounterContext.Provider value={{ state, dispatch }}>
      {children}
    </CounterContext.Provider>
  );
};
Provide the Context Provider to Next.js
Now we need to ensure that the context provider is rendered at the root of the app so that all Client Components can consume it. To do this, open the layout.tsx file located in the app directory and wrap the context provider around the children node in the HTML template.
Note that even though the RootLayout component is a Server Component, it can now render the context provider since it has been marked as a Client Component with the "use client"; flag.
src/app/layout.tsx
import { CounterContextProvider } from "@/context/counter.context";

export const metadata = {
  title: "Create Next App",
  description: "Generated by create next app",
};

export default function RootLayout({
  children,
}: {
  children: React.ReactNode;
}) {
  return (
    <html lang="en">
      <body>
        <CounterContextProvider>{children}</CounterContextProvider>
      </body>
    </html>
  );
}
It’s important to remember to render providers as deeply as possible in the component tree for optimal performance. In this case, we’re only wrapping {children} instead of the entire <html> document, which makes it easier for Next.js to optimize the static parts of your Server Components.
Use the Context API in the Next.js 13
Now that we have set up the Context Provider in the app’s root layout component, we can use it to manage the app’s state in our components. Let’s start by creating a counter component that uses the context to increase, decrease, and reset the counter.
Since the Context API only works in Client Components, we need to insert the "use client"; flag at the top of the file. To get started, navigate to the src directory and create a new folder named “components“. Within the “components” folder, create a new file named counter.component.tsx and add the following code snippets.
src/components/counter.component.tsx
"use client";

import { CounterContext } from "@/context/counter.context";
import React, { useContext } from "react";

export default function Counter() {
  const { state, dispatch } = useContext(CounterContext);

  return (
    <div style={{ marginBottom: "4rem", textAlign: "center" }}>
      <h4 style={{ marginBottom: 16 }}>{state.count}</h4>
      <button onClick={() => dispatch({ type: "INCREMENT" })}>increment</button>
      <button
        onClick={() => dispatch({ type: "DECREMENT" })}
        style={{ marginInline: 16 }}
      >
        decrement
      </button>
      <button onClick={() => dispatch({ type: "RESET" })}>reset</button>
    </div>
  );
}
Fetch and Display Data From an API
In addition to the counter component, let’s also explore the new use hook introduced in React 18. However, it’s important to note that at the time of writing this article, the use hook can cause an infinite loop, so the React team created the cache function to prevent this.
To demonstrate the use hook, we’ll fetch a list of users from the https://jsonplaceholder.typicode.com/users API using the cache function and the Fetch API. Then, we’ll display the list of users in the UI.
Before we make the API request, it’s essential to create a TypeScript type that represents the structure of the User document we’ll receive from the API. Therefore, we should create a types.ts file in the “src/app” directory and add the necessary code to it.
src/app/types.ts
export type User = {
  id: number;
  name: string;
  email: string;
};
Next, create a users.component.tsx file inside the “components” directory and add the following code.
src/components/users.component.tsx
"use client";

import React, { cache, use } from "react";
import { User } from "../app/types";

const getUsers = cache(() =>
  fetch("https://jsonplaceholder.typicode.com/users").then((res) => res.json())
);

export default function ListUsers() {
  let users = use<User[]>(getUsers());

  return (
    <>
      <div
        style={{
          display: "grid",
          gridTemplateColumns: "1fr 1fr 1fr 1fr",
          gap: 20,
        }}
      >
        {users.map((user) => (
          <div
            key={user.id}
            style={{ border: "1px solid #ccc", textAlign: "center" }}
          >
            <img
              src={`https://robohash.org/${user.id}?set=set2&size=180x180`}
              alt={user.name}
              style={{ height: 180, width: 180 }}
            />
            <h3>{user.name}</h3>
          </div>
        ))}
      </div>
    </>
  );
}
Bring All the Components Into the App Directory
Next, we need to include the <Counter /> and <ListUsers /> components in the root page component so that they can be rendered. Even though the root page component is a Server Component, it can render the <Counter /> and <ListUsers /> components because they are marked as Client Components.
To achieve this, open the src/app/page.tsx file and replace its contents with the following code:
src/app/page.tsx
import Counter from "../components/counter.component";
import ListUsers from "../components/users.component";

export default function Home() {
  return (
    <main style={{ maxWidth: 1200, marginInline: "auto", padding: 20 }}>
      <Counter />
      <ListUsers />
    </main>
  );
}
Congratulations, you’ve completed the app! To see it in action, start the Next.js development server and go to http://localhost:3000/. Try clicking on the buttons to increase, decrease, and reset the counter to confirm that the Context API is functioning correctly.
Conclusion
The source code for this Next.js 13 app using the React Context API is available on GitHub. I hope this article has helped you set up and use the Context API in your own projects. If you have any questions or feedback, please feel free to leave a comment below.
Your theme is beautiful! I had create a blog https://bytespost.com/, I want to use your social bar and categorie list style thank you~~
Thank you for the compliment on my theme, I’m glad you find it beautiful. Just so you know, it’s a paid theme that I purchased from a theme store. If you’re interested, you can find the link to the theme store in the footer section of my website.
if i have some server component, and im gonna wrap inside of the context provider, will it be a client-component? if yes it will be a client component, how i can seperate that?
For example If i increase the count by 1 the sate get easy updated in client component , how to show the value in Server Component .I tried but not working
Error: Cannot access ._context on the server. You cannot dot into a client module from a server component. You can only pass the imported name through.
Here is what you need to know: The Server Component is rendered only once, which happens on the server. During client-side navigation, you will continue to see the initial page.
So, if you want certain state changes to occur within the Server Component, extract that part of the code into a Client-Side component and then import it into the Server Component.