In this article, you’ll learn how to upload and resize single and multiple images with Node.js, TypeScript, Multer, and Sharp.
Related Post: Backend
- API with Node.js + PostgreSQL + TypeORM: Project Setup
- API with Node.js + PostgreSQL + TypeORM: JWT Authentication
- API with Node.js + PostgreSQL + TypeORM: Send Emails
- Node.js, Express, TypeORM, PostgreSQL: CRUD Rest API
Related Post: Frontend

Upload a Single Image With Multer
Before we start writing the image upload logic, let’s create a utility function to generate a UUID (Universally Unique Identifier) which we will use as a random string in the filenames.
src/utils/uuid.ts
function uuid() {
  const head = Date.now().toString(32);
  const tail = Math.random().toString(32).substring(2);

  return head + tail;
}

export default uuid;
Using Multer to Upload a Single Image
Create an upload folder in the src directory and within the upload folder create a single-upload-disk.ts file.
Within the single-upload-disk.ts file, we’ll write the code to upload and save a single image to the disk using multer.diskStorage() method.
src/upload/single-upload-disk.ts
import { Request } from 'express';
import multer from 'multer';
import uuid from '../utils/uuid';

const multerStorage = multer.diskStorage({
  destination: function (req: Request, file: Express.Multer.File, cb) {
    cb(null, `${__dirname}/../../public/posts/single`);
  },
  filename: function (req: Request, file: Express.Multer.File, cb) {
    const ext = file.mimetype.split('/')[1];
    const filename = `post-${uuid()}-${Date.now()}.${ext}`;
    req.body.image = filename;
    req.body.images = [];
    cb(null, filename);
  },
});

const multerFilter = (
  req: Request,
  file: Express.Multer.File,
  cb: multer.FileFilterCallback
) => {
  if (!file.mimetype.startsWith('image')) {
    return cb(new multer.MulterError('LIMIT_UNEXPECTED_FILE'));
  }

  cb(null, true);
};

const upload = multer({
  storage: multerStorage,
  fileFilter: multerFilter,
  limits: { fileSize: 1024 * 1024 * 5, files: 1 },
});

export const uploadPostImageDisk = upload.single('image');
Here is an overview of what I did above:
- First I imported the
multerpackage, our customuuidfunction and the ExpressRequestinterface. - Then I called the
multer.diskStorage()method with a configuration object.
Themulter.diskStorage()gives us absolute control over how we store files on the disk.
The configuration object passed tomulter.diskStorage({})takes two properties (filename and destination).
The destination property can be a string or function that specifies the destination path of the uploaded files. If you provide a function then you must manually create the destination folder.
The filename property is a function that determines the uploaded file’s name.
Also, in the filename function, I attached the filename toreq.body.imageto make it available to the other controllers. - Next, I defined a filter function that will be called for every processed file to determine which type of files should be uploaded.
- Next, I evoked the Multer function to return an instance that provides several methods for generating middleware that processes files uploaded in
multipart/form-dataformat. - Lastly, I called the
upload.single('image')to return a middleware for processing a single file.
Create a public folder in the root directory and within the public folder create a folder named posts.
In the posts folder create two additional folders named single and multiple.
public/
└── posts/
  ├── multiple/
  └── single/
Route Handler Functions
Now, it’s time to add the uploadPostImageDisk middleware to the middleware stack of the PATCH and POST methods.
Note: You must call the uploadPostImageDisk middleware before the validate(updatePostSchema) middleware so that the req.body.image and req.body.images will be available during the validation phase.
src/routes/post.routes.ts
router
  .route('/')
  .post(
    uploadPostImageDisk,
    validate(createPostSchema),
    createPostHandler
  )
  .get(getPostsHandler);

router
  .route('/:postId')
  .get(validate(getPostSchema), getPostHandler)
  .patch(
    uploadPostImageDisk,
    validate(updatePostSchema),
    updatePostHandler
  )
  .delete(validate(deletePostSchema), deletePostHandler);
Upload a Single Image with Multer and Sharp
Using Multer to Upload a Single Image
Now let’s take it a step further by resizing the single image before saving it on the disk.
To do that you need to install the sharp package which will allow us to process the uploaded image before storing it on the disk.
yarn add sharp && yarn add -D @types/sharp
In the previous example, we used multer.diskStorage() to immediately save the uploaded image on the disk.
To process the uploaded image before saving it to the disk, we need to use multer.memoryStorage() to read the image to memory as a buffer object.
src/upload/multi-upload-sharp.ts
import { NextFunction, Request, Response } from 'express';
import multer from 'multer';
import sharp from 'sharp';
import uuid from '../utils/uuid';

const multerStorage = multer.memoryStorage();

const multerFilter = (
  req: Request,
  file: Express.Multer.File,
  cb: multer.FileFilterCallback
) => {
  if (!file.mimetype.startsWith('image')) {
    return cb(new multer.MulterError('LIMIT_UNEXPECTED_FILE'));
  }

  cb(null, true);
};

const upload = multer({
  storage: multerStorage,
  fileFilter: multerFilter,
  limits: { fileSize: 5000000, files: 1 },
});

export const uploadPostImage = upload.single('image');
Next, we need to call the single() method on the Multer instance to populate req.file with the buffer object.
Using Sharp to Resize a Single Image
Now the req.file.buffer object will be available in the resizePostImage middleware ready for processing.
In order to avoid running into errors when no file was uploaded, we need to check if the Request object has a file property before proceeding with the processing logic.
src/upload/multi-upload-sharp.ts
export const resizePostImage = async (
  req: Request,
  res: Response,
  next: NextFunction
) => {
  try {
    const file = req.file;
    if (!file) return next();

    const fileName = `post-${uuid()}-${Date.now()}.jpeg`;
    await sharp(req.file?.buffer)
      .resize(800, 450)
      .toFormat('jpeg')
      .jpeg({ quality: 90 })
      .toFile(`${__dirname}/../../public/posts/single/${fileName}`);

    req.body.image = fileName;

    next();
  } catch (err: any) {
    next(err);
  }
};
Here is a breakdown of what I did above:
- First, I constructed the filename with the custom
uuid()function andDate.now(). Also, I added the.jpegextension because I know I’ll process the image to JPEG before saving it to the disk. - Next, I resized the image, changed it to a JPEG, reduced the quality, and called
.toFile()to save it to the disk. - Lastly, I assigned the filename to
req.body.imageto make it available for the schema validation middleware.
Route Handlers
In the src/routes/post.routes.ts file, import the uploadPostImage and resizePostImage then add them to the middleware stack of the POST and PATCH routes.
Note: The order of the middleware matters in the middleware stack.
src/routes/post.routes.ts
router
  .route('/')
  .post(
    uploadPostImage,
    resizePostImage,
    validate(createPostSchema),
    createPostHandler
  )
  .get(getPostsHandler);

router
  .route('/:postId')
  .get(validate(getPostSchema), getPostHandler)
  .patch(
    uploadPostImage,
    resizePostImage,
    validate(updatePostSchema),
    updatePostHandler
  )
  .delete(validate(deletePostSchema), deletePostHandler);
Upload Multiple Images with Multer and Sharp
To upload multiple images, Multer gives us two functions .arrays(fieldname[, max_count]) and .fields([{ name: fieldname, [,maxCount: maxCount]}])
Using Multer to Upload Multiple Images
I decided to design the multiple-image upload logic with different field names to show the different options available with Multer.
Here the .fields() method accepts an array of objects. Within the individual objects, you need to provide the field name and the maximum number of files the field should accept.
src/upload/multi-upload-sharp.ts
import { NextFunction, Request, Response } from 'express';
import multer, { FileFilterCallback } from 'multer';
import sharp from 'sharp';
import uuid from '../utils/uuid';

const multerStorage = multer.memoryStorage();

const multerFilter = (
  req: Request,
  file: Express.Multer.File,
  cb: FileFilterCallback
) => {
  if (!file.mimetype.startsWith('image')) {
    return cb(new multer.MulterError('LIMIT_UNEXPECTED_FILE'));
  }
  cb(null, true);
};

const upload = multer({
  storage: multerStorage,
  fileFilter: multerFilter,
  limits: { fileSize: 5 * 1024 * 1024 },
});

export const uploadPostImages = upload.fields([
  { name: 'image', maxCount: 1 },
  { name: 'images', maxCount: 3 },
]);
Using Sharp to Resize Multiple Images
Multer will then populate the req.files object with the field names and each field name will map to an array of the associated file information objects.
src/upload/multi-upload-sharp.ts
export const resizePostImages = async (
  req: Request,
  res: Response,
  next: NextFunction
) => {
  try {
    if (!req.files) return next();

    // resize imageCover
    // @ts-ignore
    if (req.files?.image) {
      const filename = `post-${uuid()}-${Date.now()}.jpeg`;
      req.body.image = filename;
      // @ts-ignore
      await sharp(req.files?.image[0]?.buffer)
        .resize(800, 450)
        .toFormat('jpeg')
        .jpeg({ quality: 90 })
        .toFile(filename);
    }

    // resize images
    // @ts-ignore
    if (req.files.images) {
      req.body.images = [];
      await Promise.all(
        // @ts-ignore
        req?.files?.images.map((file, i) => {
          const filename = `post-${uuid()}-${Date.now()}-${i + 1}.jpeg`;

          req.body.images.push(filename);
          return sharp(file.buffer)
            .resize(800, 450)
            .toFormat('jpeg')
            .jpeg({ quality: 90 })
            .toFile(`${__dirname}/../../public/posts/multiple/${filename}`);
        })
      );
    }

    next();
  } catch (err: any) {
    next(err);
  }
};
Processing a single file
The req.file.image will now be an array and since we used a maxCount: 1 . It will only have one buffer object.
You can access the buffer object with req.files?.image[0]?.buffer and pass it to the Sharp function.
Lastly, you can perform the necessary operations on the buffer by appending the appropriate methods before saving it to the disk.
Processing multiple files
Here comes the hard part. The req?.files?.images will be an array containing at least one buffer object depending on how many images the user uploaded.
The only way to process the individual buffer objects in the array is to map over the array.
The Sharp function returns a promise so we need to explicitly return the individual promise in an array with the map() method and use Promise.all() to execute them.
Note: you need to use
await Promise.all()to givePromise.all()some time to execute the individual Promises before moving to the next middleware.
Routes Handler Function
Now import the uploadPostImages and resizePostImages middleware into src/routes/post.routes.ts file and include them in the POST and PATCH route middleware stack.
router
  .route('/')
  .post(
    uploadPostImages,
    resizePostImages,
    validate(createPostSchema),
    createPostHandler
  )
  .get(getPostsHandler);

router
  .route('/:postId')
  .get(validate(getPostSchema), getPostHandler)
  .patch(
    uploadPostImages,
    resizePostImages,
    validate(updatePostSchema),
    updatePostHandler
  )
  .delete(validate(deletePostSchema), deletePostHandler);
Frontend for Uploading Either Single or Multiple Images
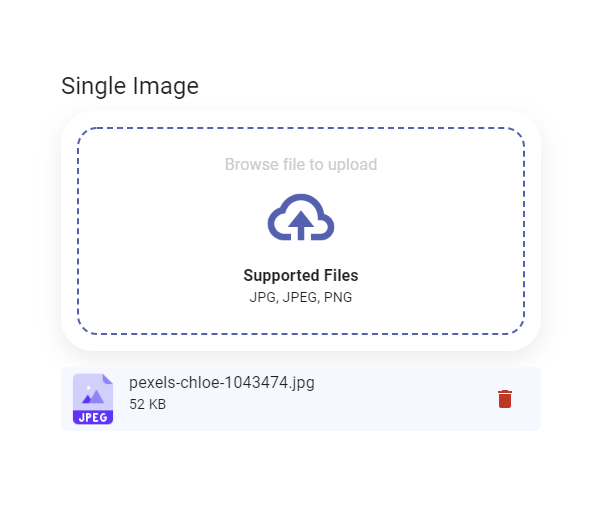
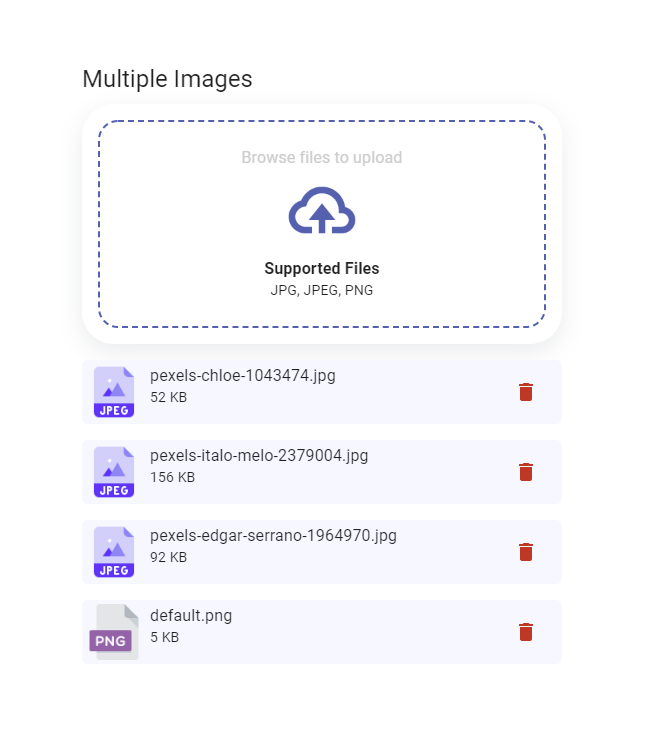
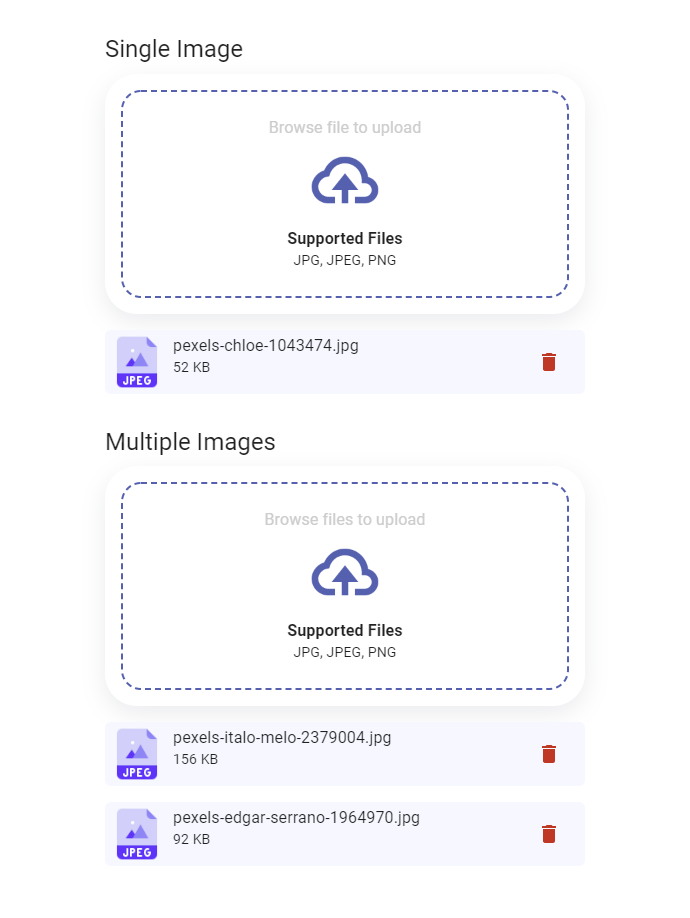
Below is the custom image upload component I created with React, Material-UI, and React Hook Form to upload single and multiple images.

Upload multiple images with React.


Conclusion
Congratulation on reaching the end. Please leave a comment below if you learned something new from this article.
In this article, you learned how to upload and resize single and multiple images with Node.js, Multer, Shape, and PostgreSQL.
Check out the source codes:

