

In this article, you’ll learn how to send HTML Emails with Node.js, Nodemailer, Prisma, PostgreSQL, Express, and Docker-compose. We’ll create a generic class that can be used to send single or multiple emails at once by chaining the methods together.
CRUD API with Node.js and PostgreSQL Series:
- API Node.js, TypeScript, Prisma, PostgreSQL: Project Setup
- Node.js + Prisma + PostgreSQL: Access & Refresh Tokens
- CRUD API with Node.js and PostgreSQL: Send HTML Emails
- API with Node.js, Prisma & PostgreSQL: Forget/Reset Password
Related Articles:
- API with Node.js + PostgreSQL + TypeORM: Send Emails
- API with Golang + MongoDB: Send HTML Emails with Gomail
Send Emails with Node.js, Nodemailer, Prisma Overview
A user enters his credentials to register for an account
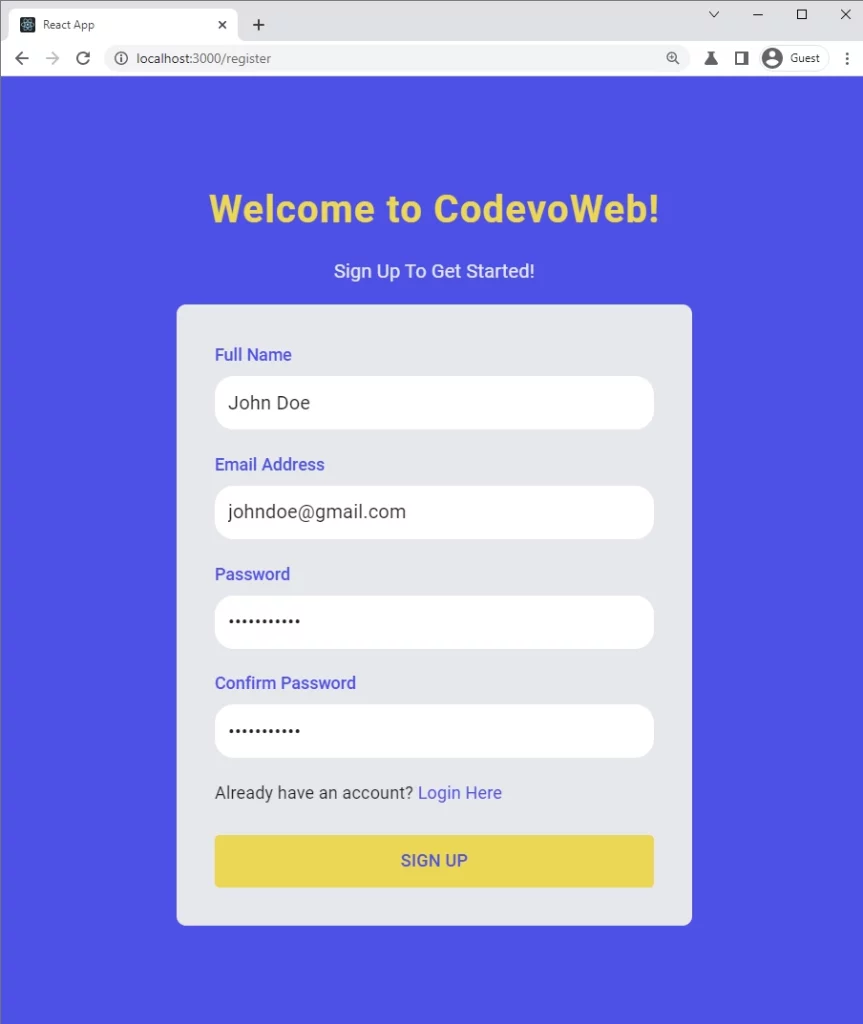
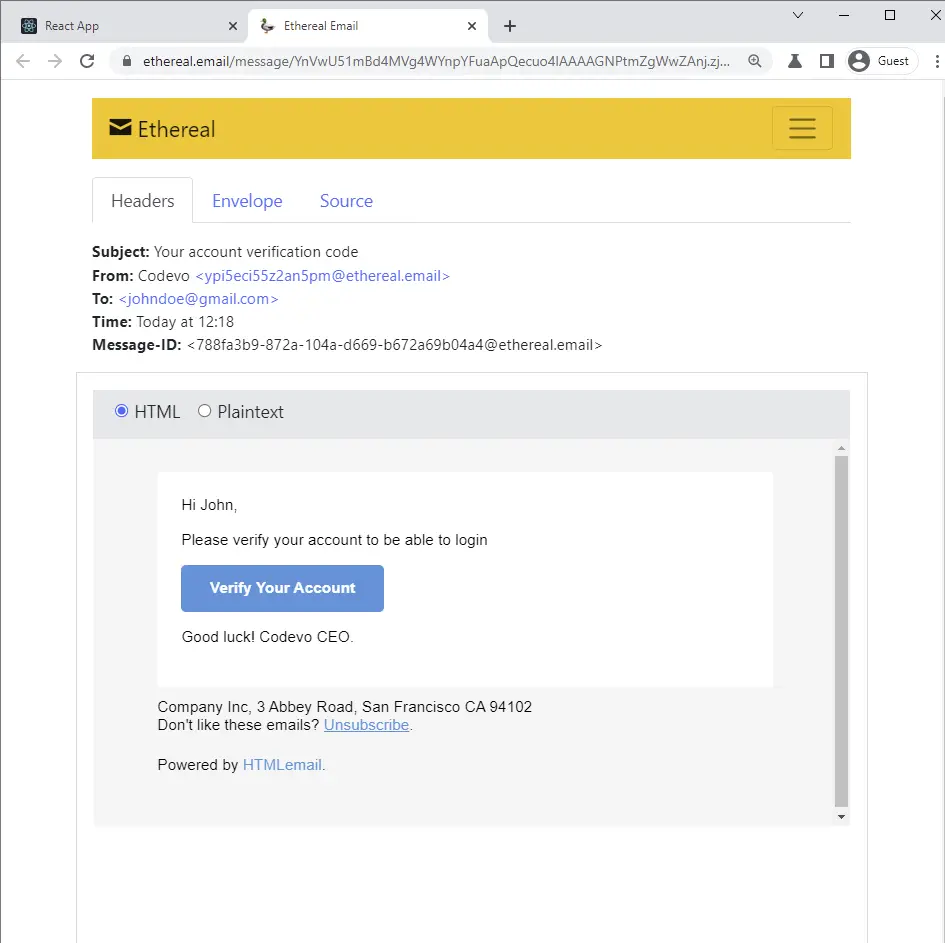
The Node.js server validates the credentials before adding the user to the database and sends a verification code to the user’s email.
The user clicks on the ‘Verify Your Account’ button upon receiving the verification email.
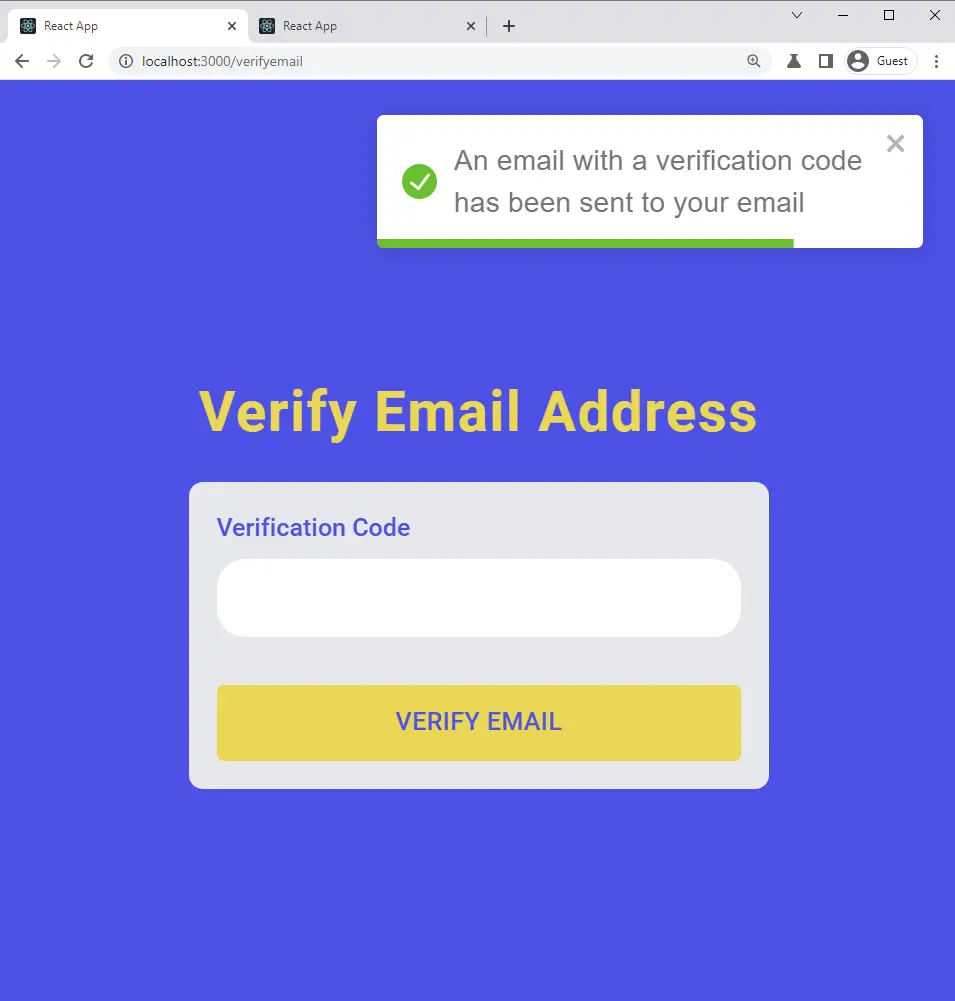
The user is then taken to the email verification page and the verification code is pre-filled in the text input field.
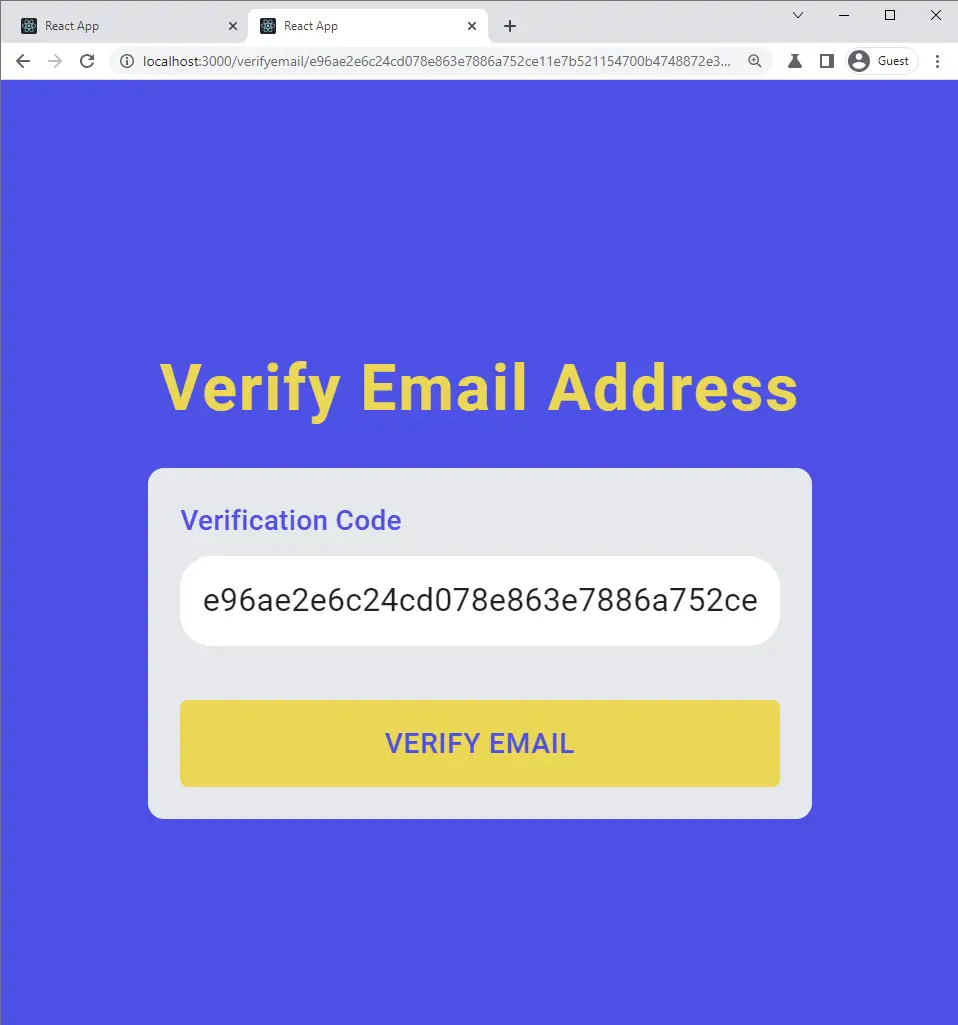
When the user clicks on the ‘Verify Email’ button, a GET request is made with the verification code to the Node.js server.
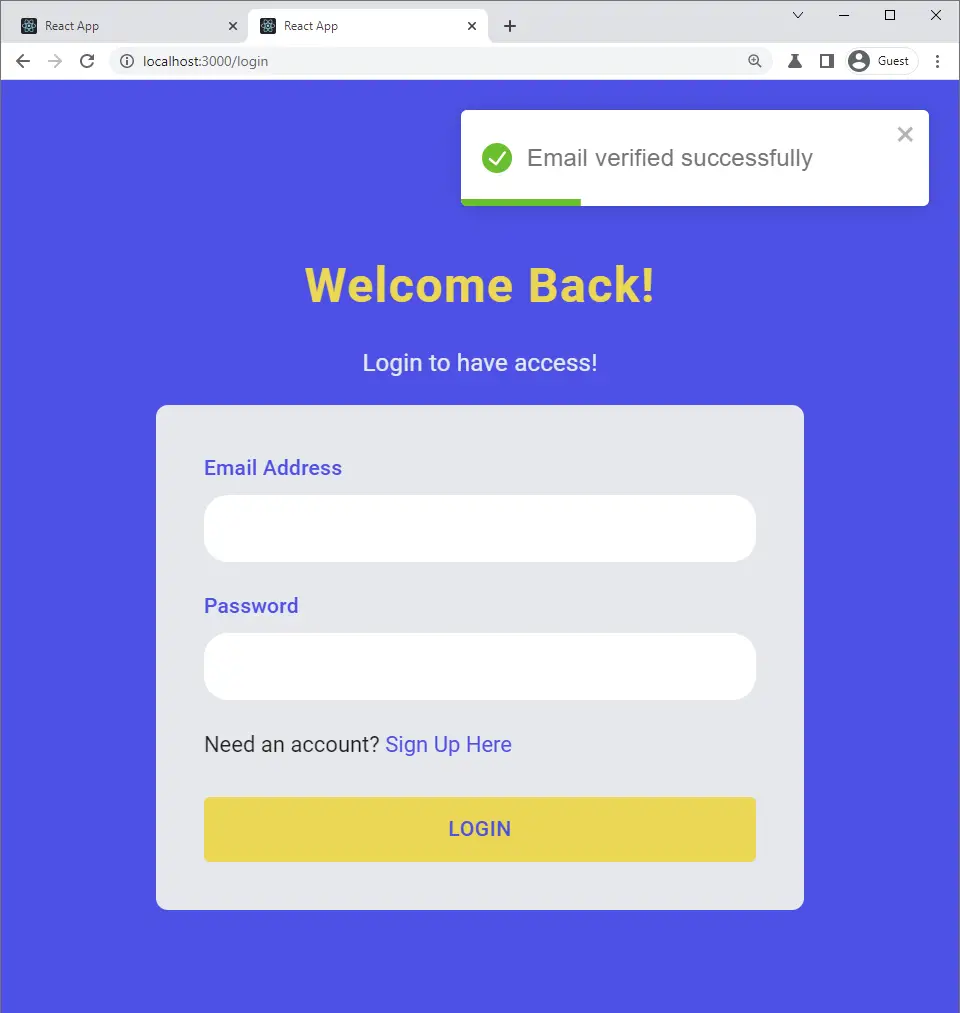
The server then updates the user’s credentials in the database assuming the verification code is valid and sends back a success message.
The frontend application receives the success message and redirects the user to the login page.
Setting up ExpressJs Templating Engine with Pug
A template engine helps us create reusable components called partials which we can import into other files.
With template engines, we define a base template that we can extend in other templates to avoid repeating certain code snippets that appear in most of the template files.
There are numerous templating engines on the internet and some of the popular ones include Pug, Handlebars, Swig, Mustache, EJS, etc.
With all these options at hand, I decided to use Pug to generate all the email templates because I find the syntax clean and simple.
By default, ExpressJs is already configured to work “out-of-the-box” with most of the template engines.
Run the following command to install the required dependencies:
yarn add nodemailer pug html-to-text && yarn add -D @types/nodemailer @types/html-to-text @types/pug
nodemailer: For sending SMTP Emails in Node.jspug: Templating enginehtml-to-text: Converts HTML to plain Text
Configure ExpressJs to use Pug Templating Engine
The app.set(name, value) method is used to change the behavior of the ExpressJs server.
To configure ExpressJs to use the Pug templating engine, we use app.set('view engine', 'pug') .
Also, we need to tell ExpressJs the directory in which the Pug files are located with app.set('views', '${__dirname}/views'); .
src/app.ts
const prisma = new PrismaClient();
const app = express();

async function bootstrap() {
  // TEMPLATE ENGINE
  app.set('view engine', 'pug');
  app.set('views', `${__dirname}/views`);

  // ? Remaining code
}

bootstrap()
  .catch((err) => {
    throw err;
  })
  .finally(async () => {
    await prisma.$disconnect();
  });
There are numerous SMTP providers that we can use in conjunction with Nodemailer to send real emails but I decided to use the SMTP server that comes with Nodemailer to avoid sending development emails to real email addresses.
Execute the following code snippets above the bootstrap function to generate the SMTP credentials and remove the code afterward.
src/app.ts
import nodemailer from 'nodemailer';

(async function () {
  const credentials = await nodemailer.createTestAccount();
  console.log(credentials);
})();

// (...)
Assuming the server is running, you should get the SMTP credentials in the terminal.
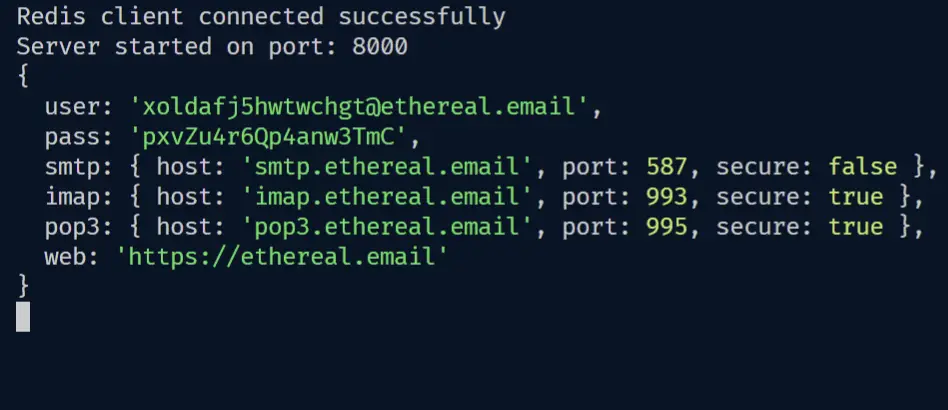
Update the .env file with the SMTP credentials.
.env
EMAIL_USER=maycgho4gm6paqnq@ethereal.email
EMAIL_PASS=RbVrQdN94Ax5CJdnwp
EMAIL_HOST=smtp.ethereal.email
EMAIL_PORT=587
Also, add the SMTP credentials you provided in the .env file to the custom-environment-variables.ts file.
config/custom-environment-variables.ts
export default {
  port: 'PORT',

  accessTokenPrivateKey: 'JWT_ACCESS_TOKEN_PRIVATE_KEY',
  accessTokenPublicKey: 'JWT_ACCESS_TOKEN_PUBLIC_KEY',
  refreshTokenPrivateKey: 'JWT_REFRESH_TOKEN_PRIVATE_KEY',
  refreshTokenPublicKey: 'JWT_REFRESH_TOKEN_PUBLIC_KEY',

  smtp: {
    host: 'EMAIL_HOST',
    pass: 'EMAIL_PASS',
    port: 'EMAIL_PORT',
    user: 'EMAIL_USER',
  },
};
Finally, update the validateEnv.ts file to ensure that the environment variables you provided in the .env have their correct Typescript types.
src/utils/validateEnv.ts
import { cleanEnv, port, str } from 'envalid';

function validateEnv() {
  cleanEnv(process.env, {
    DATABASE_URL: str(),

    PORT: port(),
    NODE_ENV: str(),

    POSTGRES_HOST: str(),
    POSTGRES_PORT: port(),
    POSTGRES_USER: str(),
    POSTGRES_PASSWORD: str(),
    POSTGRES_DB: str(),

    JWT_ACCESS_TOKEN_PRIVATE_KEY: str(),
    JWT_ACCESS_TOKEN_PUBLIC_KEY: str(),
    JWT_REFRESH_TOKEN_PRIVATE_KEY: str(),
    JWT_REFRESH_TOKEN_PUBLIC_KEY: str(),

    EMAIL_USER: str(),
    EMAIL_PASS: str(),
    EMAIL_HOST: str(),
    EMAIL_PORT: port(),
  });
}

export default validateEnv;
Complete App.ts code
src/app.ts
require('dotenv').config();
import express, { NextFunction, Request, Response, response } from 'express';
import config from 'config';
import cors from 'cors';
import morgan from 'morgan';
import cookieParser from 'cookie-parser';
import validateEnv from './utils/validateEnv';
import { PrismaClient } from '@prisma/client';
import authRouter from './routes/auth.routes';
import userRouter from './routes/user.routes';
import AppError from './utils/appError';

validateEnv();

const prisma = new PrismaClient();
const app = express();

async function bootstrap() {
  // TEMPLATE ENGINE
  app.set('view engine', 'pug');
  app.set('views', `${__dirname}/views`);

  // MIDDLEWARE

  // 1.Body Parser
  app.use(express.json({ limit: '10kb' }));

  // 2. Cookie Parser
  app.use(cookieParser());

  // 2. Cors
  app.use(
    cors({
      origin: [config.get<string>('origin')],
      credentials: true,
    })
  );

  // 3. Logger
  if (process.env.NODE_ENV === 'development') app.use(morgan('dev'));

  // ROUTES
  app.use('/api/auth', authRouter);
  app.use('/api/users', userRouter);

  // Testing
  app.get('/api/healthchecker', (_, res: Response) => {
    res.status(200).json({
      status: 'success',
      message: 'Welcome to NodeJs with Prisma and PostgreSQL',
    });
  });

  // UNHANDLED ROUTES
  app.all('*', (req: Request, res: Response, next: NextFunction) => {
    next(new AppError(404, `Route ${req.originalUrl} not found`));
  });

  // GLOBAL ERROR HANDLER
  app.use((err: AppError, req: Request, res: Response, next: NextFunction) => {
    err.status = err.status || 'error';
    err.statusCode = err.statusCode || 500;

    res.status(err.statusCode).json({
      status: err.status,
      message: err.message,
    });
  });

  const port = config.get<number>('port');
  app.listen(port, () => {
    console.log(`Server on port: ${port}`);
  });
}

bootstrap()
  .catch((err) => {
    throw err;
  })
  .finally(async () => {
    await prisma.$disconnect();
  });
Create a Utility Class to the Send Emails
The utility class will allow us to send single or multiple emails at once by chaining the different methods together.
Get the Nodemailer Credentials
src/utils/email.ts
import nodemailer from 'nodemailer';
import config from 'config';
import pug from 'pug';
import { convert } from 'html-to-text';
import { Prisma } from '@prisma/client';

const smtp = config.get<{
  host: string;
  port: number;
  user: string;
  pass: string;
}>('smtp');
Define the Email Class Attributes
Next, let’s define the class and the attributes needed for the Mail Options and the email templates.
src/utils/email.ts
// ? SMTP configurations

export default class Email {
 #firstName: string;
  #to: string;
  #from: string;
  constructor(private user: Prisma.UserCreateInput, private url: string) {
    this.#firstName = user.name.split(' ')[0];
    this.#to = user.email;
    this.#from = `Codevo <admin@admin.com>`;
  }

  // (...)
}
Create a Nodemailer Transporter
Next, define a private method to create and return the Nodemailer transport object. The nodemailer.createTransport({}) method accepts an argument object containing the SMTP configuration options.
src/utils/email.ts
// ? SMTP configurations

export default class Email {
  // ? Constructor

  private newTransport() {
    // if (process.env.NODE_ENV === 'production') {
    //   console.log('Hello')
    // }

    return nodemailer.createTransport({
      ...smtp,
      auth: {
        user: smtp.user,
        pass: smtp.pass,
      },
    });
  }
}
Create a Method to Generate the Email Templates
Now, with the help of pug.renderFile() method, let’s retrieve any of the Pug files in the views folder and render it into an HTML file.
Next, evoke the sendMail() method and provide it with the defined mail options.
src/utils/email.ts
// ? SMTP configurations

export default class Email {
// ? Constructor

// ? Transport

  private async send(template: string, subject: string) {
    // Generate HTML template based on the template string
    const html = pug.renderFile(`${__dirname}/../views/${template}.pug`, {
      firstName: this.firstName,
      subject,
      url: this.url,
    });
    // Create mailOptions
    const mailOptions = {
      from: this.from,
      to: this.to,
      subject,
      text: convert(html),
      html,
    };

    // Send email
    const info = await this.newTransport().sendMail(mailOptions);
    console.log(nodemailer.getTestMessageUrl(info));
  }
}
Create a Method to Send the Emails
Next, create public methods to evoke the send('name of template', 'email subject') method with the template name without the .pug extension and the email subject.
Create two methods to send the email verification code and a password reset code.
src/utils/email.ts
/ ? SMTP configurations

export default class Email {
  // ? Constructor

  // ? Transport

  // ? Method to send emails

  async sendVerificationCode() {
    await this.send('verificationCode', 'Your account verification code');
  }

  async sendPasswordResetToken() {
    await this.send(
      'resetPassword',
      'Your password reset token (valid for only 10 minutes)'
    );
  }
}
Complete Send Email Utility Class Code
src/utils/email.ts
import nodemailer from 'nodemailer';
import config from 'config';
import pug from 'pug';
import { convert } from 'html-to-text';
import { Prisma } from '@prisma/client';

const smtp = config.get<{
  host: string;
  port: number;
  user: string;
  pass: string;
}>('smtp');

export default class Email {
  #firstName: string;
  #to: string;
  #from: string;
  constructor(private user: Prisma.UserCreateInput, private url: string) {
    this.#firstName = user.name.split(' ')[0];
    this.#to = user.email;
    this.#from = `Codevo <admin@admin.com>`;
  }

  private newTransport() {
    // if (process.env.NODE_ENV === 'production') {
    // }

    return nodemailer.createTransport({
      ...smtp,
      auth: {
        user: smtp.user,
        pass: smtp.pass,
      },
    });
  }

  private async send(template: string, subject: string) {
    // Generate HTML template based on the template string
    const html = pug.renderFile(`${__dirname}/../views/${template}.pug`, {
      firstName: this.#firstName,
      subject,
      url: this.url,
    });
    // Create mailOptions
    const mailOptions = {
      from: this.#from,
      to: this.#to,
      subject,
      text: convert(html),
      html,
    };

    // Send email
    const info = await this.newTransport().sendMail(mailOptions);
    console.log(nodemailer.getTestMessageUrl(info));
  }

  async sendVerificationCode() {
    await this.send('verificationCode', 'Your account verification code');
  }

  async sendPasswordResetToken() {
    await this.send(
      'resetPassword',
      'Your password reset token (valid for only 10 minutes)'
    );
  }
}
Creating the Email Templates with Pug
Click here to download the Pug HTML email templates. Extract the views folder from the downloaded Zip file and move it to the src folder of the project.
Run Prisma Migration to Update PostgreSQL
Next, generate the Prisma migration file and push the changes to the PostgreSQL database.
package.json
{
  "scripts": {
    "start": "ts-node-dev --respawn --transpile-only --exit-child src/app.ts",
    "migrate": "npx prisma migrate dev --name user-model && npx prisma generate",
    "push": "npx prisma db push",
    "build": "tsc . -p"
  }
}
Run this command to start the PostgreSQL and Redis Docker containers
docker-compose up -d
Next, run the following command to create a new migration and push the changes to the PostgreSQL database.
yarn migrate && yarn push
Update the User Registration Controller
Now, let’s update the user registration handler to send the verification code after the user has been added to the database.
src/controllers/auth.controller.ts
import Email from '../utils/email';
import crypto from 'crypto';

export const registerUserHandler = async (
  req: Request<{}, {}, RegisterUserInput>,
  res: Response,
  next: NextFunction
) => {
  try {
    const hashedPassword = await bcrypt.hash(req.body.password, 12);

    const verifyCode = crypto.randomBytes(32).toString('hex');
    const verificationCode = crypto
      .createHash('sha256')
      .update(verifyCode)
      .digest('hex');

    const user = await createUser({
      name: req.body.name,
      email: req.body.email.toLowerCase(),
      password: hashedPassword,
      verificationCode,
    });

    const redirectUrl = `${config.get<string>(
      'origin'
    )}/verifyemail/${verifyCode}`;
    try {
      await new Email(user, redirectUrl).sendVerificationCode();
      await updateUser({ id: user.id }, { verificationCode });

      res.status(201).json({
        status: 'success',
        message:
          'An email with a verification code has been sent to your email',
      });
    } catch (error) {
      await updateUser({ id: user.id }, { verificationCode: null });
      return res.status(500).json({
        status: 'error',
        message: 'There was an error sending email, please try again',
      });
    }
  } catch (err: any) {
    if (err instanceof Prisma.PrismaClientKnownRequestError) {
      if (err.code === 'P2002') {
        return res.status(409).json({
          status: 'fail',
          message: 'Email already exist, please use another email address',
        });
      }
    }
    next(err);
  }
};
Here is a breakdown of what I did above:
- I first registered the new user
- Then I used the Node.js crypto module to generate the verification code.
- Next, I sent the unhashed verification code to the user’s email and stored the hashed one in the database.
- Lastly, I set the
verificationCodecolumn in the PostgreSQL database tonullwhen an error occurs in the process of sending the email.
Create a Controller to Verify the Email
Before creating the email verification code handler, let’s create a schema to validate the/api/auth/verifyemail/verificationCode route. This step is only needed for Typescript IntelliSense.
src/schemas/user.schema.ts
export const verifyEmailSchema = object({
  params: object({
    verificationCode: string(),
  }),
});

export type VerifyEmailInput = TypeOf<typeof verifyEmailSchema>['params'];
To verify the verification code, we need to define a controller that will validate the code and update the user’s credentials in the PostgreSQL database.
src/controllers/auth.controller.ts
import crypto from 'crypto';

export const verifyEmailHandler = async (
  req: Request<VerifyEmailInput>,
  res: Response,
  next: NextFunction
) => {
  try {
    const verificationCode = crypto
      .createHash('sha256')
      .update(req.params.verificationCode)
      .digest('hex');

    const user = await updateUser(
      { verificationCode },
      { verified: true, verificationCode: null },
      { email: true }
    );

    if (!user) {
      return next(new AppError(401, 'Could not verify email'));
    }

    res.status(200).json({
      status: 'success',
      message: 'Email verified successfully',
    });
  } catch (err: any) {
    if (err.code === 'P2025') {
      return res.status(403).json({
        status: 'fail',
        message: `Verification code is invalid or user doesn't exist`,
      });
    }
    next(err);
  }
};
Here is what I did above:
- I first converted the code to a hashed one with the crypto module.
- Then I made a query to find the user belonging to the hashed verification code.
If the user doesn’t exist in the database then it means the verification code provided is invalid. - Lastly, I updated the verified column to true and verificationCode to null if the user exists in the database.
Next, add the email verification controller to the routes.
src/routes/auth.routes.ts
// Verify Email Address
router.get(
  '/verifyemail/:verificationCode',
  validate(verifyEmailSchema),
  verifyEmailHandler
);
Update the Login Controller
Finally, update the login controller to check if the user is verified before proceeding to check if the password is valid.
export const loginUserHandler = async (
  req: Request<{}, {}, LoginUserInput>,
  res: Response,
  next: NextFunction
) => {
  try {
    const { email, password } = req.body;

    const user = await findUniqueUser(
      { email: email.toLowerCase() },
      { id: true, email: true, verified: true, password: true }
    );

    if (!user) {
      return next(new AppError(400, 'Invalid email or password'));
    }

    // Check if user is verified
    if (!user.verified) {
      return next(
        new AppError(
          401,
          'You are not verified, please verify your email to login'
        )
      );
    }

    if (!user || !(await bcrypt.compare(password, user.password))) {
      return next(new AppError(400, 'Invalid email or password'));
    }

    // Sign Tokens
    const { access_token, refresh_token } = await signTokens(user);
    res.cookie('access_token', access_token, accessTokenCookieOptions);
    res.cookie('refresh_token', refresh_token, refreshTokenCookieOptions);
    res.cookie('logged_in', true, {
      ...accessTokenCookieOptions,
      httpOnly: false,
    });

    res.status(200).json({
      status: 'success',
      access_token,
    });
  } catch (err: any) {
    next(err);
  }
};
Conclusion
Congrats for reaching the end. In this article, you learned how to send HTML emails with Node.js, Nodemailer, Pug, Prisma, Express, PostgreSQL, and Docker-compose.
Check out the source code on GitHub