

In this article, you’ll learn how to build a complete CRUD API with Node.js and Sequelize. The REST API will run on an Express.js server and have endpoints for performing CRUD operations against a PostgreSQL database.
What is Sequelize? Sequelize is a modern, promise-based, Node.js ORM (Object Relational Mapper) that makes it easy to work with SQL databases like PostgreSQL, MariaDB, MySQL, Microsoft SQL Server, and SQLite.
More practice:
- CRUD RESTful API Server with Python, FastAPI, and MongoDB
- Build a CRUD App with FastAPI and SQLAlchemy
- Build a CRUD App with FastAPI and PyMongo
- Build CRUD API with Django REST framework
- Node.js, Express, TypeORM, PostgreSQL: CRUD Rest API
- Build CRUD RESTful API Server with Golang, Gin, and MongoDB
Prerequisites
To follow along with this tutorial, you’ll need the following:
- Ensure you have the latest or LTS version of Node.js installed on your machine. If not visit the official Node.js website to download and install the binary.
- Ensure you have Docker installed on your system. It’s needed to run the Postgres server in a Docker container.
- Basic knowledge of Express.js and Node.js will be beneficial.
Run the Node.js Sequelize CRUD API Locally
- Download or clone the Sequelize CRUD API project from https://github.com/wpcodevo/crud-app-sequelize and open the source code in an IDE.
- In the console of the root directory, run
yarnoryarn installto install all the required dependencies. - Run
docker-compose up -dto start the Postgres server in the Docker container. - Run
yarn startto sync the Sequelize schema with the Postgres database and start the Express.js HTTP server. - Finally, open an API testing software like Postman or RapidAPI Client VS Code extension to test the endpoints. Alternatively, you can set up the React CRUD application to interact with the API.
Run the Sequelize CRUD API with React.js
To follow a step-by-step guide on how to build the React.js CRUD app see the article Build a React.js CRUD App using a RESTful API. Nevertheless, follow the steps below to clone and run the React project within minutes.
- First, make sure you have Node.js and Yarn installed. If you already have Node.js installed, run this command
npm i -g yarnto install the Yarn package manager globally. - Visit the React CRUD GitHub page https://github.com/wpcodevo/reactjs-crud-note-app to clone or download the project. Then, open the source code in an IDE or text editor.
- In the IDE or text editor, open the integrated terminal and run
yarnoryarn installto install the project’s dependencies. - Run
yarn devin the console of the root directory to start the Vite development server. - Open a new browser tab and visit http://localhost:3000/ to test the CRUD app with the Node.js Sequelize API. Note: Do not open the React CRUD app on http://127.0.0.1:3000 to avoid site can’t be reached or CORS error. The Node.js API server is configured to accept requests from only http://localhost:3000/.
Setup the Node.js Project
Begin by creating a project folder on your Desktop or any convenient location and navigate to the folder using the terminal. In this example, you can name the project crud-app-sequelize. Then, open the project folder in an IDE or text editor. I prefer VS Code so I will run code . to open the project folder with VS Code.
mkdir crud-app-sequelize
cd crud-app-sequelize && code .
Next, run this command to initialize the Node.js project with Yarn:
yarn init -y
Now run these commands to install all the third-party dependencies:
yarn add sequelize pg pg-hstore cors dotenv express zod
yarn add -D @types/cors @types/express @types/morgan morgan ts-node-dev typescript
sequelize– Sequelize is a promise-based Node.js ORM for SQL databases.pg– A non-blocking PostgreSQL driver for Node.js. Sequelize requires this package to create connection pools to the Postgres server and manage the data stored in the database.pg-hstore– For serializing and deserializing JSON data to PostgreSQL hstore data type.cors– Provides a middleware that can be used to enable CORS in a Node.js server.dotenv– Load environment variables from a.envfile.express– A Node.js web framework.zod– A TypeScript-first schema validation library.morgan– Provides a middleware for logging HTTP requests in Node.js.ts-node-dev– Compiles a TypeScript app and hot-reloads the server when required files change.
In this project, we’ll use TypeScript to add type safety to the Node.js project. So create a tsconfig.json file in the root directory and add the following TypeScript configurations.
tsconfig.json
{
  "compilerOptions": {
    "target": "es2016",
    "experimentalDecorators": true,
    "emitDecoratorMetadata": true,
    "module": "commonjs",
    "esModuleInterop": true,
    "forceConsistentCasingInFileNames": true,
    "strict": true,
    "strictPropertyInitialization": false,
    "skipLibCheck": true,
    "outDir": "./build",
    "rootDir": "."
  }
}
With that out of the way, let’s set up a simple API with Express to get our hands dirty. To do this, create an src folder in the root directory. Within the src folder, create a server.ts file and add the code snippets below.
src/server.ts
require("dotenv").config();
import express, { Request, Response } from "express";
import morgan from "morgan";

const app = express();

if (process.env.NODE_ENV === "development") app.use(morgan("dev"));

app.get("/api/healthchecker", (req: Request, res: Response) => {
  res.status(200).json({
    status: "success",
    message: "Build CRUD API with Node.js and Sequelize",
  });
});

app.all("*", (req: Request, res: Response) => {
  res.status(404).json({
    status: "fail",
    message: `Route: ${req.originalUrl} does not exist on this server`,
  });
});

const PORT = 8000;
app.listen(PORT, async () => {
  console.log("🚀Server started Successfully");
});
In the above code, we created a new Express app and added a /api/healthchecker route middleware to the Express middleware pipeline.
Open the package.json file and add the script below to help us start and restart the Express server with the ts-node-dev package.
{
"scripts": {
    "start": "ts-node-dev --respawn --transpile-only --exit-child src/server.ts"
  }
}
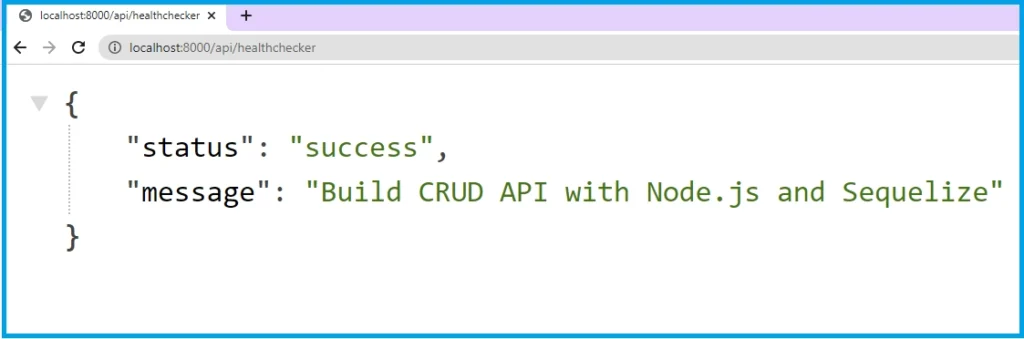
In the console of the root project directory, run yarn start to start the Express HTTP server on the specified port. Then, open a new tab in your browser and visit http://localhost:8000/api/healthchecker to get a response from the health checker route.
Setup the Database
As part of the prerequisites, you installed Docker to help us run the Postgres server without downloading the Postgres binary from the https://www.postgresql.org/ website. In this tutorial, we’ll use PostgreSQL as the database dialect but you can adjust the code to work with any Sequelize-supported database like MySQL, SQLite, Microsoft SQL Server, and MariaDB.
To set up and run the Postgres server with Docker, create a docker-compose.yml file in the root folder and add the following Docker compose configurations.
docker-compose.yml
version: '3'
services:
  postgres:
    image: postgres:latest
    container_name: postgres
    ports:
      - '6500:5432'
    volumes:
      - progresDB:/data/postgres
    env_file:
      - ./.env
volumes:
  progresDB:
The above Docker-compose configurations will pull the latest Postgres image from Docker Hub, build the container, and map port 6500 to the default Postgres port.
Instead of manually providing the Postgres server credentials under the environment: settings in the Docker-compose configurations, we’ll load them from a .env file to make our lives easier.
To do this, create a .env file and add the following environment variables:
.env
POSTGRES_HOST=127.0.0.1
POSTGRES_PORT=6500
POSTGRES_USER=admin
POSTGRES_PASSWORD=password123
POSTGRES_DB=node_sequelize

DATABASE_URL=postgresql://admin:password123@localhost:6500/node_sequelize?schema=public

PORT=8000
NODE_ENV=development
Above, we defined the credentials the Postgres image will need to build and run the Postgres server. Also, we defined a DATABASE_URL variable that Sequelize will use to create connection pools between the running Postgres server and the Node.js server. Run docker-compose up -d to start the Postgres server in the Docker container.
Now that the Postgres server is running in the Docker container, let’s write some code to connect it to the Node.js server. To do this, create a db.ts file in the src directory and add the following code snippets.
src/db.ts
require("dotenv").config();
import { Sequelize, DataTypes } from "sequelize";

const POSTGRES_URL = process.env.DATABASE_URL as unknown as string;
const sequelize = new Sequelize(POSTGRES_URL);

async function connectDB() {
  try {
    await sequelize.authenticate();
    console.log("✅ Connection has been established successfully.");
  } catch (error) {
    console.error("Unable to connect to the database:", error);
  }
}

export { connectDB, sequelize, Sequelize, DataTypes };
In the above code, we passed the PostgreSQL connection URL to the Sequelize constructor and evoked it to create a new Sequelize instance. Instead of using a single connection URI, you can give the database connection parameters separately to the Sequelize constructor.
After that, we created a connectDB() function that we’ll evoke after the Express server is ready to test if the connection to the Postgres server was established successfully.
Create the Sequelize Model
Now let’s create a Sequelize model that will have methods for querying and mutating the Postgres database. Later, the Sequelize engine will transform the model to the underlying SQL table and sync the Sequelize schema with the database schema.
src/model.ts
import { sequelize, DataTypes } from "./db";

const NoteModel = sequelize.define("notes", {
  id: {
    type: DataTypes.UUID,
    defaultValue: DataTypes.UUIDV4,
    primaryKey: true,
  },
  title: {
    type: DataTypes.STRING(100),
    allowNull: false,
    unique: true,
  },
  content: {
    type: DataTypes.TEXT,
    allowNull: false,
  },
  category: {
    type: DataTypes.STRING(50),
    allowNull: true,
  },
  published: {
    type: DataTypes.BOOLEAN,
    defaultValue: false,
    allowNull: false,
  },
  createdAt: {
    type: DataTypes.DATE,
    defaultValue: DataTypes.NOW,
    allowNull: false,
  },
  updatedAt: {
    type: DataTypes.DATE,
    defaultValue: DataTypes.NOW,
    allowNull: false,
  },
});

export default NoteModel;
Sequelize provides many built-in data types that can be accessed via the DataTypes property. By default, Sequelize uses incremental integers as the primary key of the table but this poses a threat since attackers can use random integers to inspect the data stored in the database.
So adding an id field that has a DataTypes.UUID type will instruct Sequelize to use UUID for the id column instead of incremental integers.
Create Validation Schemas with Zod
In every API development, it’s a good practice to validate incoming user inputs before they reach the API handlers. To do this, we’ll create validation schemas with Zod and use them in the route middleware pipeline to validate the request body.
So create a note.schema.ts file in the src folder and add the following Zod schemas.
src/note.schema.ts
import { z } from "zod";

export const createNoteSchema = z.object({
  body: z.object({
    title: z.string({
      required_error: "Title is required",
    }),
    content: z.string({
      required_error: "Content is required",
    }),
    category: z.string().optional(),
    published: z.boolean().optional(),
  }),
});

export const params = z.object({
  noteId: z.string(),
});

export const updateNoteSchema = z.object({
  params,
  body: z
    .object({
      title: z.string(),
      content: z.string(),
      category: z.string(),
      published: z.boolean(),
    })
    .partial(),
});

export const filterQuery = z.object({
  limit: z.number().default(1),
  page: z.number().default(10),
});

export type ParamsInput = z.TypeOf<typeof params>;
export type FilterQueryInput = z.TypeOf<typeof filterQuery>;
export type CreateNoteInput = z.TypeOf<typeof createNoteSchema>["body"];
export type UpdateNoteInput = z.TypeOf<typeof updateNoteSchema>;
Now let’s create an Express middleware that will take a Zod schema as an argument, validate the request body based on the schema rules, and return validation errors to the client.
src/middleware/validate.ts
import { Request, Response, NextFunction } from "express";
import { AnyZodObject, ZodError } from "zod";

export const validate =
  (schema: AnyZodObject) =>
  (req: Request, res: Response, next: NextFunction) => {
    try {
      schema.parse({
        params: req.params,
        query: req.query,
        body: req.body,
      });

      next();
    } catch (error) {
      if (error instanceof ZodError) {
        return res.status(400).json({
          status: "fail",
          errors: error.errors,
        });
      }
      next(error);
    }
  };
Create the CRUD Route Handlers
In this section, you’ll create the API CRUD handlers that Express.js will use to perform the CRUD operations against the database. To do this, we’ll create higher-level CRUD functions called route handlers to evoke the lower-level CRUD functions provided by Sequelize.
To begin, create a note.controller.ts file in the src folder and add the following modules and dependencies.
src/note.controller.ts
import { Request, Response } from "express";
import NoteModel from "./model";
import {
  CreateNoteInput,
  FilterQueryInput,
  ParamsInput,
  UpdateNoteInput,
} from "./note.schema";
Create New Record
This higher-level CRUD function will be called to insert a new record into the database when a POST request is made to the /api/notes endpoint.
When Express delegates the request to this middleware, the JSON object will be extracted from the request body and the .create() method available on the Sequelize model will be evoked to insert the new data into the database.
src/note.controller.ts
export const createNoteController = async (
  req: Request<{}, {}, CreateNoteInput>,
  res: Response
) => {
  try {
    const { title, content, category, published } = req.body;

    const note = await NoteModel.create({
      title,
      content,
      category,
      published,
    });

    res.status(201).json({
      status: "success",
      data: {
        note,
      },
    });
  } catch (error: any) {
    if (error.name === "SequelizeUniqueConstraintError") {
      return res.status(409).json({
        status: "failed",
        message: "Note with that title already exists",
      });
    }

    res.status(500).json({
      status: "error",
      message: error.message,
    });
  }
};
Since we added a unique constraint on the title column, Sequelize will return a unique constraint error when a record with that title already exists in the database.
To prevent the app from crashing, we used an if statement to handle it and return a well-formatted error message to the client.
Edit Existing Record
This higher-level CRUD function will be called to edit the fields of a record when a PATCH request is made to the /api/notes/:noteId endpoint.
When Express calls this route middleware, the .update() method available on the Sequelize model will be called to update the fields of the record that matches the ID provided in the where clause.
src/note.controller.ts
export const updateNoteController = async (
  req: Request<UpdateNoteInput["params"], {}, UpdateNoteInput["body"]>,
  res: Response
) => {
  try {
    const result = await NoteModel.update(
      { ...req.body, updatedAt: Date.now() },
      {
        where: {
          id: req.params.noteId,
        },
      }
    );

    if (result[0] === 0) {
      return res.status(404).json({
        status: "fail",
        message: "Note with that ID not found",
      });
    }

    const note = await NoteModel.findByPk(req.params.noteId);

    res.status(200).json({
      status: "success",
      data: {
        note,
      },
    });
  } catch (error: any) {
    res.status(500).json({
      status: "error",
      message: error.message,
    });
  }
};
By default, the update() method does not return the record so we had to call the NoteModel.findByPk() method to retrieve the newly-updated record.
Find One Record
This higher-level CRUD function will be called by Express to retrieve a single record from the database and return the found record to the client. To do this, the .findByPk() method available on the Sequelize model will be called to find the record that matches the ID.
If no record with that ID exists, a 404 error will be returned to the client. Otherwise, the found record will be sent to the client in the JSON response.
src/note.controller.ts
export const findNoteController = async (
  req: Request<ParamsInput>,
  res: Response
) => {
  try {
    const note = await NoteModel.findByPk(req.params.noteId);

    if (!note) {
      return res.status(404).json({
        status: "fail",
        message: "Note with that ID not found",
      });
    }

    res.status(200).json({
      status: "success",
      data: {
        note,
      },
    });
  } catch (error: any) {
    res.status(500).json({
      status: "error",
      message: error.message,
    });
  }
};
Find All Records
This higher-level CRUD function will be called by Express to retrieve a paginated list of records from the database and return them to the client. Here, we’ll pass the limit, and offset parameters as arguments to the .findAll() method to retrieve a selected list of records from the database.
src/note.controller.ts
export const findAllNotesController = async (
  req: Request<{}, {}, {}, FilterQueryInput>,
  res: Response
) => {
  try {
    const page = req.query.page || 1;
    const limit = req.query.limit || 10;
    const skip = (page - 1) * limit;

    const notes = await NoteModel.findAll({ limit, offset: skip });

    res.status(200).json({
      status: "success",
      results: notes.length,
      notes,
    });
  } catch (error: any) {
    res.status(500).json({
      status: "error",
      message: error.message,
    });
  }
};
Delete a Record
This higher-level CRUD function will be called to permanently destroy a single record in the database. When Express delegates the DELETE request to this middleware, the .destroy() method available on the Sequelize model will be evoked to delete that record in the database.
src/note.controller.ts
export const deleteNoteController = async (
  req: Request<ParamsInput>,
  res: Response
) => {
  try {
    const result = await NoteModel.destroy({
      where: { id: req.params.noteId },
      force: true,
    });

    if (result === 0) {
      return res.status(404).json({
        status: "fail",
        message: "Note with that ID not found",
      });
    }

    res.status(204).json();
  } catch (error: any) {
    res.status(500).json({
      status: "error",
      message: error.message,
    });
  }
};
If no record was deleted, a 404 error will be returned to the client. Otherwise, a 204 status code will be returned to the client.
Complete CRUD Controllers
src/note.controller.ts
import { Request, Response } from "express";
import NoteModel from "./model";
import {
  CreateNoteInput,
  FilterQueryInput,
  ParamsInput,
  UpdateNoteInput,
} from "./note.schema";

export const createNoteController = async (
  req: Request<{}, {}, CreateNoteInput>,
  res: Response
) => {
  try {
    const { title, content, category, published } = req.body;

    const note = await NoteModel.create({
      title,
      content,
      category,
      published,
    });

    res.status(201).json({
      status: "success",
      data: {
        note,
      },
    });
  } catch (error: any) {
    if (error.name === "SequelizeUniqueConstraintError") {
      return res.status(409).json({
        status: "failed",
        message: "Note with that title already exists",
      });
    }

    res.status(500).json({
      status: "error",
      message: error.message,
    });
  }
};

export const updateNoteController = async (
  req: Request<UpdateNoteInput["params"], {}, UpdateNoteInput["body"]>,
  res: Response
) => {
  try {
    const result = await NoteModel.update(
      { ...req.body, updatedAt: Date.now() },
      {
        where: {
          id: req.params.noteId,
        },
      }
    );

    if (result[0] === 0) {
      return res.status(404).json({
        status: "fail",
        message: "Note with that ID not found",
      });
    }

    const note = await NoteModel.findByPk(req.params.noteId);

    res.status(200).json({
      status: "success",
      data: {
        note,
      },
    });
  } catch (error: any) {
    res.status(500).json({
      status: "error",
      message: error.message,
    });
  }
};

export const findNoteController = async (
  req: Request<ParamsInput>,
  res: Response
) => {
  try {
    const note = await NoteModel.findByPk(req.params.noteId);

    if (!note) {
      return res.status(404).json({
        status: "fail",
        message: "Note with that ID not found",
      });
    }

    res.status(200).json({
      status: "success",
      data: {
        note,
      },
    });
  } catch (error: any) {
    res.status(500).json({
      status: "error",
      message: error.message,
    });
  }
};

export const findAllNotesController = async (
  req: Request<{}, {}, {}, FilterQueryInput>,
  res: Response
) => {
  try {
    const page = req.query.page || 1;
    const limit = req.query.limit || 10;
    const skip = (page - 1) * limit;

    const notes = await NoteModel.findAll({ limit, offset: skip });

    res.status(200).json({
      status: "success",
      results: notes.length,
      notes,
    });
  } catch (error: any) {
    res.status(500).json({
      status: "error",
      message: error.message,
    });
  }
};

export const deleteNoteController = async (
  req: Request<ParamsInput>,
  res: Response
) => {
  try {
    const result = await NoteModel.destroy({
      where: { id: req.params.noteId },
      force: true,
    });

    if (result === 0) {
      return res.status(404).json({
        status: "fail",
        message: "Note with that ID not found",
      });
    }

    res.status(204).json();
  } catch (error: any) {
    res.status(500).json({
      status: "error",
      message: error.message,
    });
  }
};
Create the API Routes
Now that we’ve created all the CRUD route handlers, let’s create route middleware to evoke them. To do this, we’ll create an Express.js router and append the CRUD routes to the middleware pipeline.
Also, we’ll add the validate() middleware to the POST and PATCH middleware routes to validate the request bodies of the incoming requests.
src/routes.ts
import express from "express";
import { validate } from "./middleware/validate";
import {
  createNoteController,
  deleteNoteController,
  findAllNotesController,
  findNoteController,
  updateNoteController,
} from "./note.controller";
import { createNoteSchema, updateNoteSchema } from "./note.schema";

const router = express.Router();

router
  .route("/")
  .get(findAllNotesController)
  .post(validate(createNoteSchema), createNoteController);
router
  .route("/:noteId")
  .get(findNoteController)
  .patch(validate(updateNoteSchema), updateNoteController)
  .delete(deleteNoteController);

export default router;
Setup CORS and API Router
At this point, we are ready to register the CRUD API router and configure the server with CORS so that the server can accept cross-origin requests. To do that, open the src/server.ts file and replace its content with the following code.
src/server.ts
require("dotenv").config();
import express, { Request, Response } from "express";
import morgan from "morgan";
import cors from "cors";
import { connectDB, sequelize } from "./db";
import noteRouter from "./routes";

const app = express();

app.use(express.json({ limit: "10kb" }));
if (process.env.NODE_ENV === "development") app.use(morgan("dev"));

app.use(
  cors({
    origin: ["http://localhost:3000"],
    credentials: true,
  })
);

app.get("/api/healthchecker", (req: Request, res: Response) => {
  res.status(200).json({
    status: "success",
    message: "Build CRUD API with Node.js and Sequelize",
  });
});

app.use("/api/notes", noteRouter);

app.all("*", (req: Request, res: Response) => {
  res.status(404).json({
    status: "fail",
    message: `Route: ${req.originalUrl} does not exist on this server`,
  });
});

const PORT = 8000;
app.listen(PORT, async () => {
  console.log("🚀Server started Successfully");
  await connectDB();
  sequelize.sync({ force: false }).then(() => {
    console.log("✅Synced database successfully...");
  });
});
In the above, we leveraged the Express.js app.use() method to register the CRUD API router in the app.
Once the Express server is ready to accept requests, the connectDB() function will be evoked to check if the credentials used in the Sequelize constructor are correct.
After that, the sequelize.sync({ force: false }) method will be evoked to create the table by dropping it if the same table already exists.
Test the CRUD API
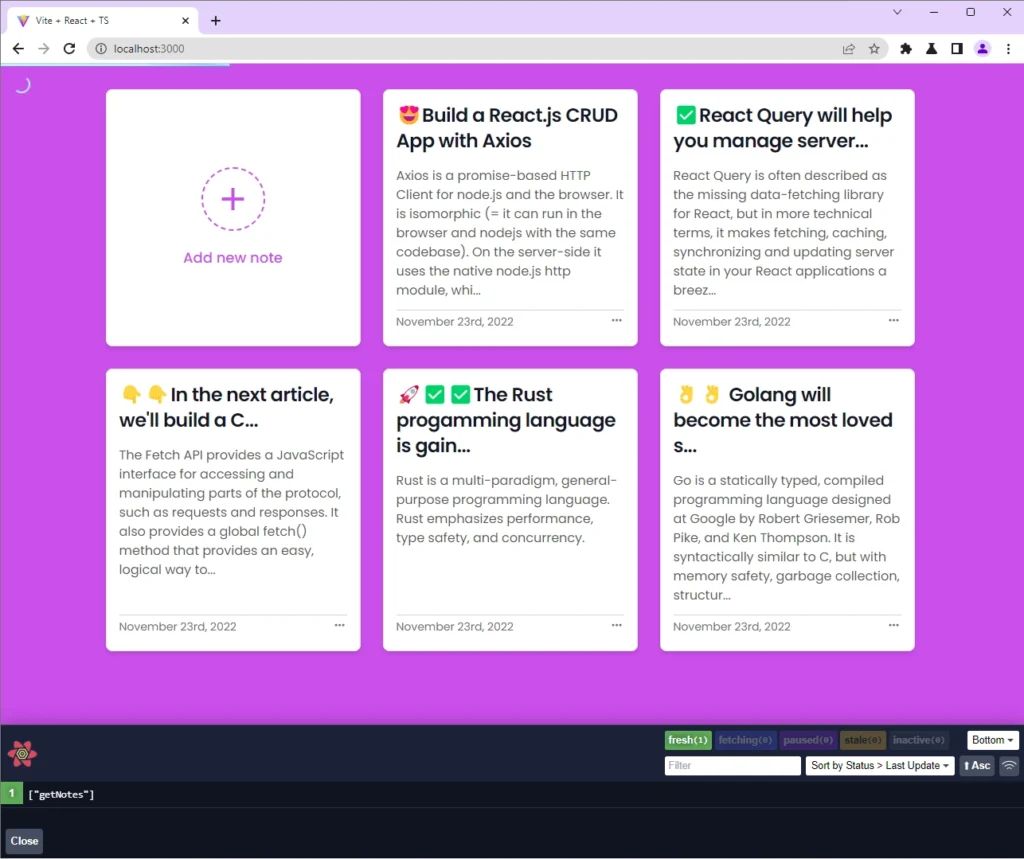
Now that you’ve completed the Node.js Sequelize CRUD API, start the Express server and set up the frontend application to interact with the endpoints.
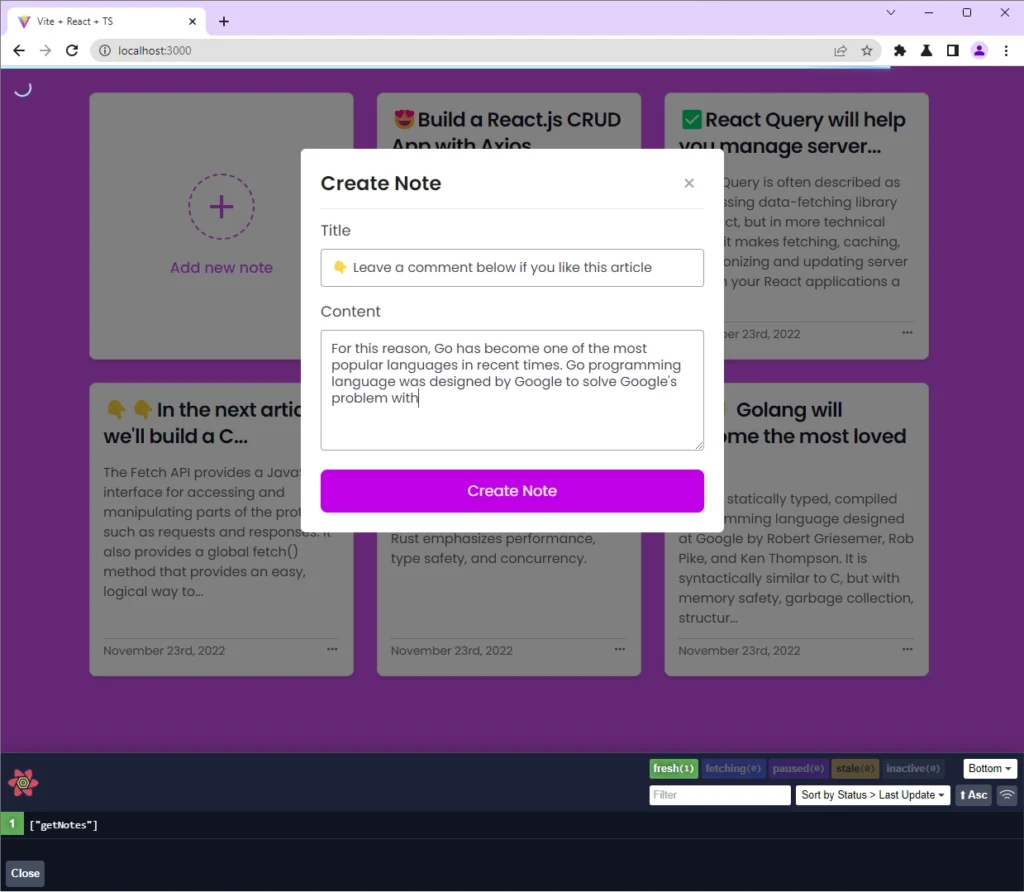
Perform Create Operation
To create a new note item, click on the plus (+) icon or the “Add new note” button to display the “Create Note” modal. Then, provide the title and content information and click on the “Create Note” button to post the data to the Node.js API.
Upon clicking the “Create Note” button, React will add the form data to the request body and fire a POST request to the /api/notes endpoint. The Node.js API will then validate the request body against the rules defined in the Zod schema, call Sequelize to add the new record to the database and return the newly-created record to the React app.
On successful request, React will make a GET request to the /api/notes endpoint to retrieve the most current data from the Node.js API. If the request succeeds, React will re-render the DOM to display the list of note items in the UI.
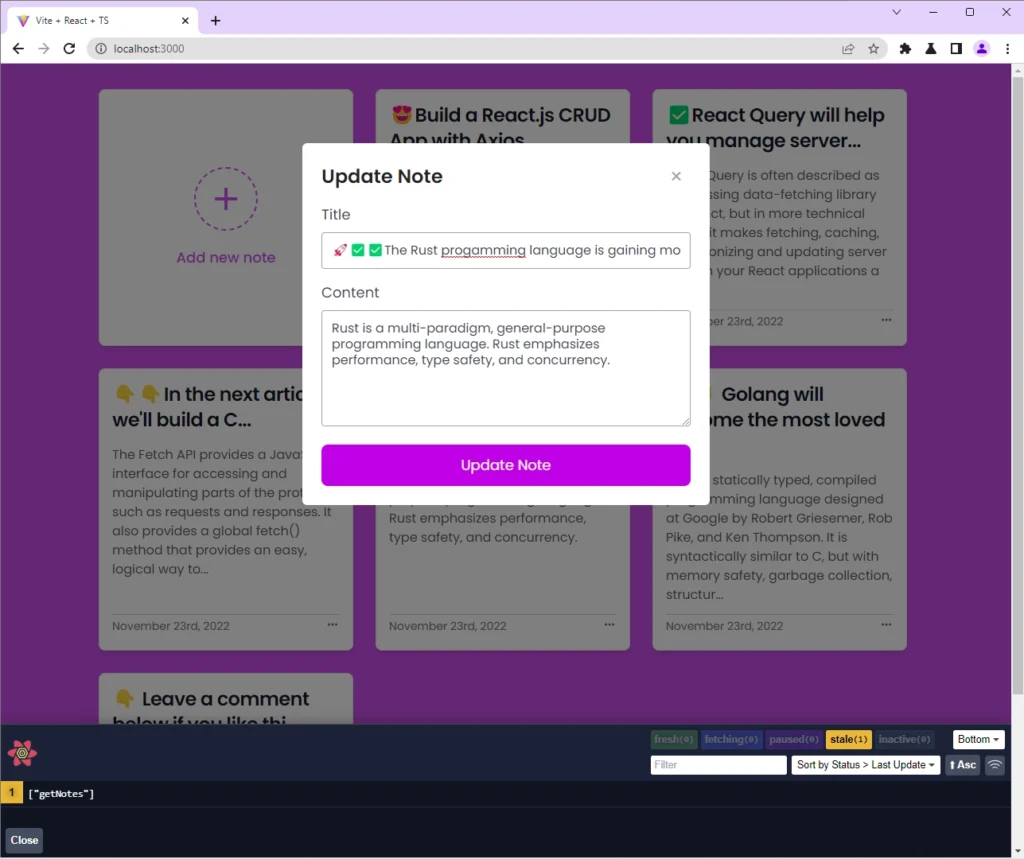
Perform Update Operation
To edit the title or content of a note item, click on the three dots (…) opposite the date element and select the Edit button to display the “Update Note” modal. Then, edit the title or content information and click on the “Update Note” button to post the data to the Node.js API.
Upon clicking the “Update Note” button, React will submit the form data to the /api/notes/:noteId endpoint. The Node.js API will then validate the request payload, call Sequelize to update the fields of the record that matches the query and return the updated record to the React app.
If the request resolves successfully, React will make a GET request to retrieve the updated list of note items, and display them in the UI to reflect the changes.
Perform Read Operation
When you land on the root route of the React app, a GET request will be fired to retrieve a paginated list of note items from the /api/notes endpoint. The Node.js server will then delegate the request to the appropriate route handler to retrieve the list of records from the database and return them to the client.
If the request succeeds, React will re-render the DOM to display the list of note items in the UI.
Perform Delete Operation
To delete a note item, click on the three dots (…) adjacent to the date element and select the Delete button. Upon clicking the Delete button, a confirmation prompt will be displayed where you can click on the OK button to make the DELETE request to the Node.js API.
The Node.js API will then call Sequelize to permanently destroy the record that matches the query in the database.
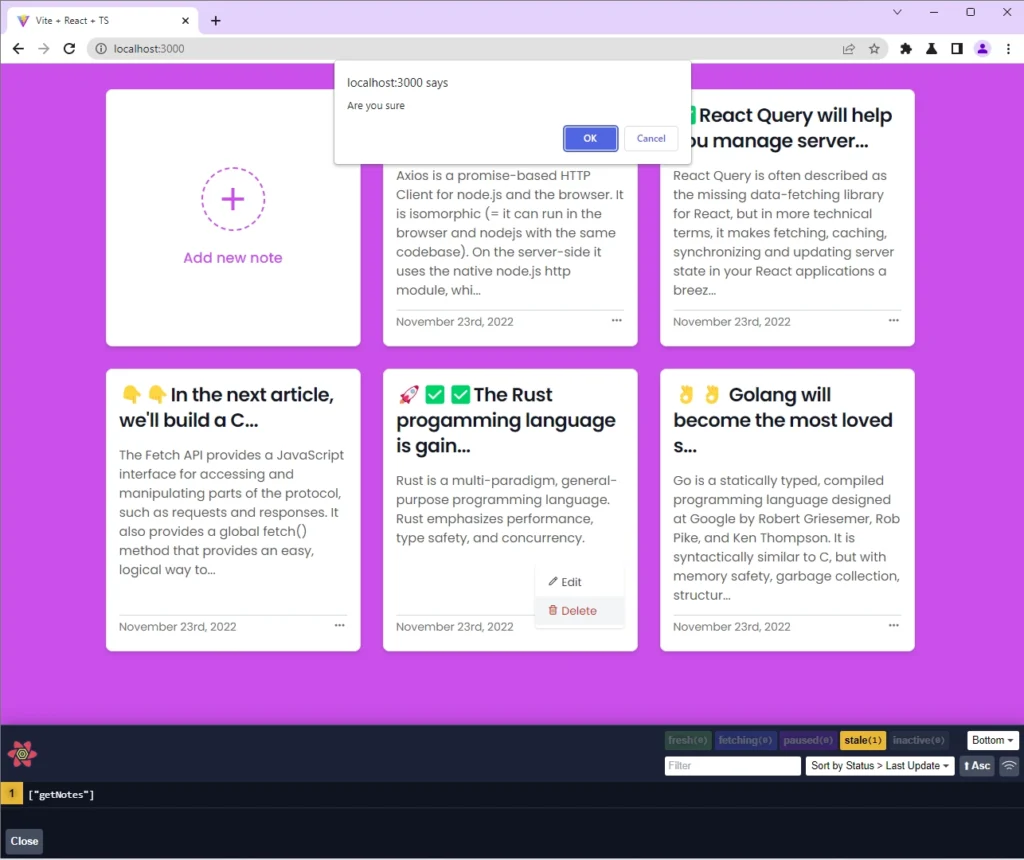
Once the request succeeds, React will re-render the DOM to remove the deleted note item from the UI.
Conclusion
Congrats on making it this far, am proud of you. In this article, you learned how to build a CRUD API with Node.js and Sequelize. You also learned how to set up a PostgreSQL database with Docker and Docker-compose.
You can find the source code of the Node.js Sequelize CRUD API on GitHub.
thanks a lot
You are welcome!