

Visual Studio Code is one of the most popular text editors that has grown to become the default text editor for most developers.
Visual Studio Code is free for both private and commercial use, it is an open-source project on Github which allows developers around the globe to modify and make their contributions in order to make it a better text editor for developing software.
To the untrained eye VS Code is just a simple text editor like Google docs and Microsoft word with code highlighting but in reality it contains a lot of productivity-boosting features that you’re probably not using yet.

In this article, we will discuss the amateur VS Code techniques then go deeper into the VS Code techniques used by professionals allowing you to write and analyze your code faster.
The previous tutorial in this series, Top 10 Best VS Code Extensions for React Developers, covers the Top 10 Best VS Code Extensions for React Developers.
You can also read:
- Top 21 VS Code Shortcuts Every Programmer Should Master
- Powerful VSCode Tips And Tricks For Python Development And Design
- Top 10 Best VS Code Extensions for React Developers
VS Code CLI
Visual Studio Code has a powerful built-in command-line interface that allows you to control how you launch the editor. You can open project files and folders, install packages and more with the command-line options.
Normally, when we want to open a project containing some folders and files we pull up the file explorer by right-clicking on the project directory and selecting Open with Code.
That works but it would have been much quicker if you had done it from the command line.
Typically, you open VS Code within the current working folder. To do this, from an open terminal or command prompt, navigate to your project folder and type code .
# open new window for current directory
code .

# Force to open file or folder in an already opened window
code -r .

# Force to open new window
code -n

# change the language
code --locale=es

# Compare two files with each other
code --diff <file1> <file2>


# open file at specific line and column <file:line[:character]>
code --goto package.json:10:5

# see help options
code --help

# disable all extensions
code --disable-extensions
Note: when you are on Mac or Linux you need to first add the binary to your path. Check this guide on how to set up VS Code on Mac.
Release the Mouse
Now that we have our project opened in VS Code editor, it’s tempting to go to different windows with the mouse and click on buttons to run commands just like we would with any other software.
But here is a little productivity secret, the less you rely on the mouse the better. VS Code allows you to use the mouse for everything making the tool approachable but that’s not the most efficient way to get things done.
It’s important to know that anything you do with your mouse can likely be done quicker with the keyboard. Virtually every command you see in the VS Code window can be done with a keyboard shortcut, you don’t need to memorize them all but knowing about 15 to 20 will literally change your life.
Letting go of the mouse may not feel natural at first but mastering the keyboard shortcuts is a lot like learning to play an instrument. It takes a lot of practice but eventually it becomes part of your everyday life.
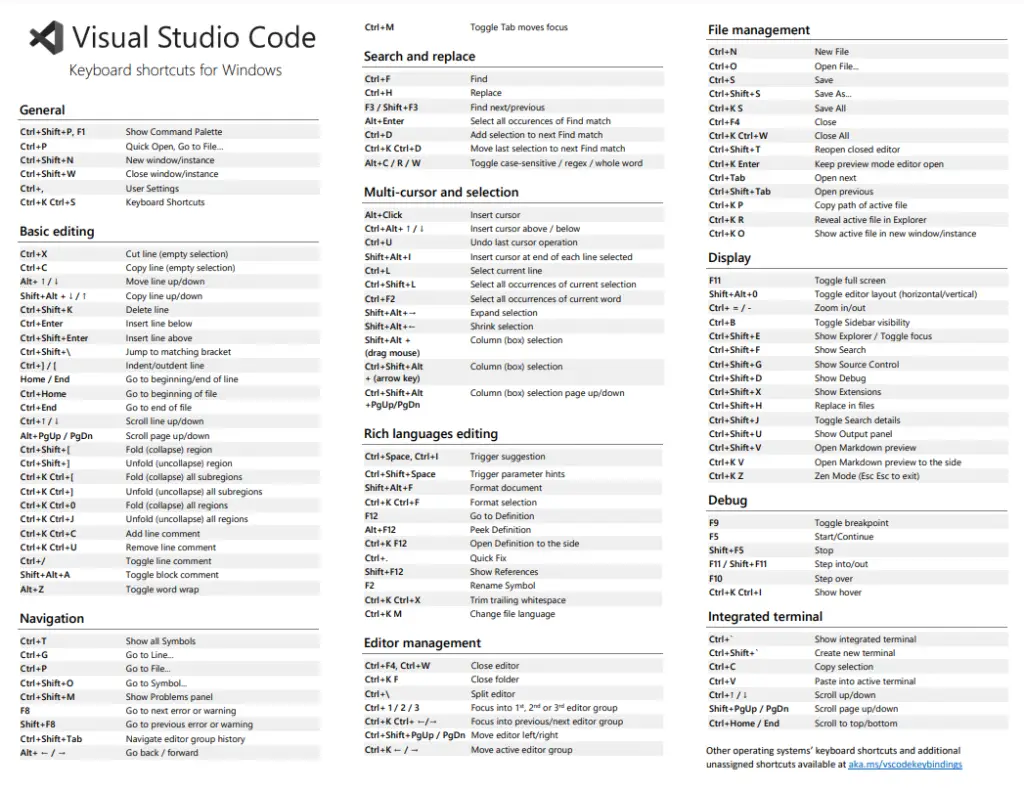
Download all the VS Code Shortcuts Here, it’s an automatic download.
Command Palette Ctrl+P
The first command you want to memorize is Ctrl + P which brings up the command palette. The beauty of the command palette is that it gives you all the power of VS Code from the keyboard without having to memorize a bunch of key bindings.
By default, it will give you a list of recently opened files. In addition, you can start typing a file name to find it in your project and that’s obviously much quicker than trying to find a file by clicking through a bunch of directories in the file explorer.
Run Commands
The command palette can do a lot more if you type a right angle bracket it will give you access to virtually any command that you can run in VS Code along with the commands for the extensions that you use.
Quokka VS Code Extension
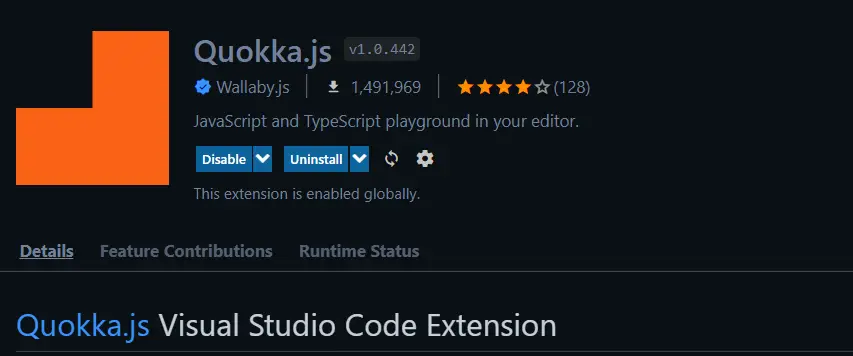
Quokka is a VS Code extension that allows you to execute JavaScript or TypeScript in the editor itself without having to leave VS Code to the browser dev tools.
It is a tool that you can start and stop in any file via the command palette.
Quokka is really cool because it automatically runs your JavaScript or TypeScript code in the background then appends the output directly in your editor which can facilitate rapid prototyping when your goal is to just write some plain JavaScript or TypeScript code.
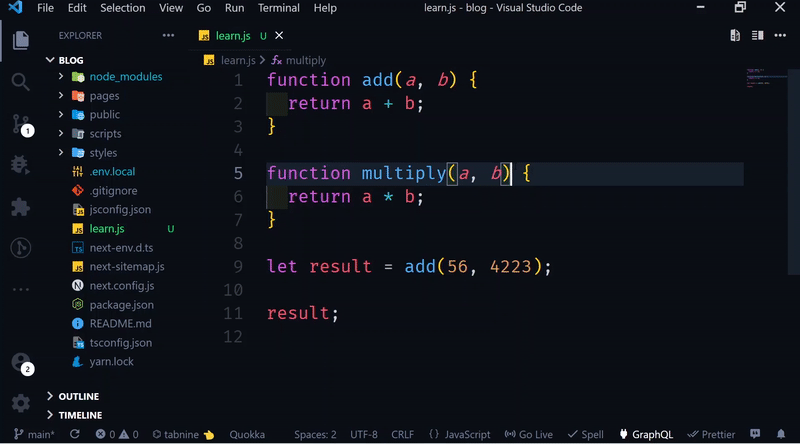
Quokka can also show you errors as to why your function or a particular piece of code can’t run.
It is recommended to use console.log() to view the output value so that you don’t encounter any limits that might occur. Some of the limits are the number of displayed properties and the logged object traversal depth.
Find Symbols with @

Another awesome thing we can do is to find symbols or pieces of code throughout our project.
When working on a very huge file it’s easy to get lost, the worst thing that you can do is to scroll around the page looking for the function or interface that you need.
You can use CTRL + F to find that text on the page but an even better approach is to use the @ symbol from the command palette. That will list out every symbol in the code so you can quickly navigate to it.
Also, you can bypass the command palette altogether by entering CTRL + SHIFt + . to do the same thing directly in the file itself.
Find symbols with #
In other cases, you may want to find a symbol or a piece of code throughout the entire project including all your dependencies like node modules.
In the command palette use the hashtag (#) followed by the name of the symbol to find that interface in your own code or your dependencies code.
Another really awesome bonus tip here is that if you have a really long class name you don’t even have to type the whole thing out, just the first character in each camel case word and it will work just as well.
Move Around Quickly
The command palette is awesome but it doesn’t really help you write your code faster. When you see a line of code that you want to edit the natural approach is to take the mouse and then highlight that line.
A developer might do this hundreds if not thousands of times per day, a faster way to get to where you need to go is to hit CTRL + G followed by the line number that you want to focus on.
From there use the arrow keys to go character by character and hold down the shift key plus the left and right arrow keys(SHIFT + <– / –>) if you want to highlight something or use CTRL + <– / –> to move word by word.
When your cursor lands on a word that you want to edit, hit CTRL + D to highlight it so you can either delete or replace it.
But here is where things get mind-blowing if those characters appear multiple times in the code and you want to edit them all at the same time, just hit CTRL + D again and again.
Multiline Editing
In some cases, you may want to use the mouse for multi-line editing, holding down ALT while you click on different parts of the editor will set up cursors in multiple places.
That can be really useful for writing repetitive CSS properties.
Auto Rename Tag
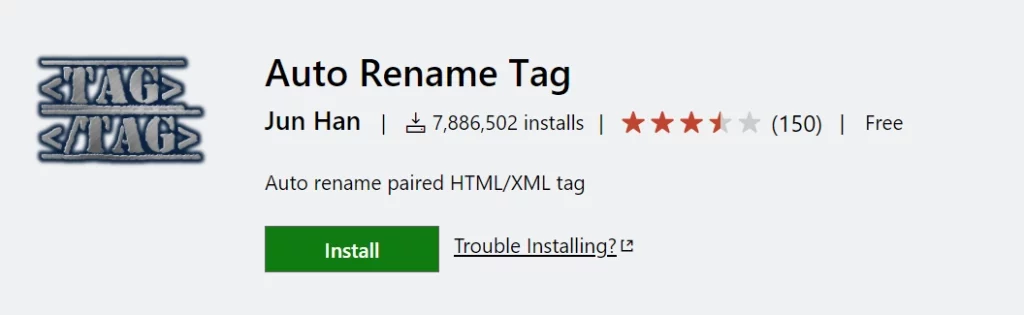
One place you might use the multiline editing is with opening and closing HTML tags but you can actually make your life even easier by installing the Auto Rename Tag extension.
This extension will automatically rename the closing tag when you edit the opening tag and it can work in other languages beyond just HTML.
Delete or move a line
In other cases, you may just want to delete or move a line. The amateur approach is to highlight that line do a right-click with the mouse and select cut and then do another right-click with the mouse and select paste.
Here is the faster approach, if your cursor is already on the line all you have to do is to hit CTRL + X to cut it no highlighting is necessary.
If your goal is to move the line somewhere else then there is an even better approach, use ALT + Up and Down arrows keys to move the line somewhere else quickly.
Also, if you want to copy that line as you move it use ALT + SHIFT + Up and Down arrows keys.
Highlight & Comment Lines
One other thing you likely often do in your code is comment it out to disable it. The worst possible thing you can do is go line by line adding the comment syntax to each line. If this is how you currently do comments you’ll want to pay attention to this next shortcut.
First, highlight the code using your mouse or by using the CTRL + L command to highlight line by line. Once highlighted use CTRL + / to toggle comments on that code.
JS Doc Extension VS Code Extension
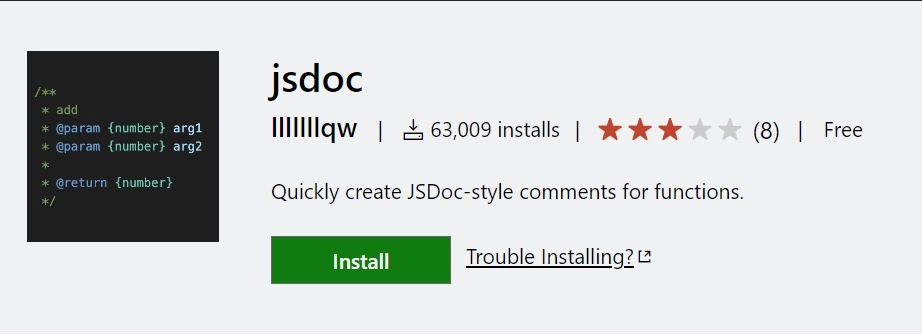
Now when speaking of code comments, it’s often important to format them properly. In JavaScript that typically means following the JS docs standard and there is an extension called jsdoc comments.
Once installed it allows us to highlight a function then use the command palette to add a comment to it automatically.
Bonus tip, in your jsdoc comments you can use the link tag to link to other symbols in your source code. When you hover over that symbol it will give you the comment and if you click the link it will take you to that part of the code automatically.
This makes writing comments easier.
Better Comments VS Code Extension
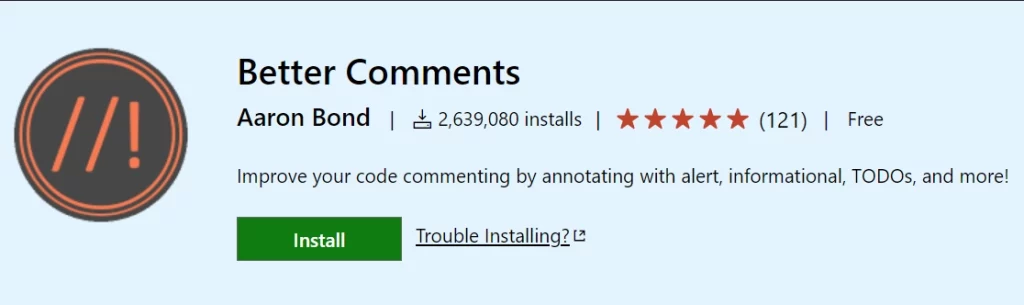
We can make our comments better to read by installing the better comment extension. With this extension, we’ll get automatic highlighting in our comment text.
The Better Comments extension allows us to create more human-friendly comments in our code.
This extension comes with different annotations:
- Alerts
- Queries
- TODOs
- Highlights
Integrated Terminal
Now let’s switch gears into a very important topic the terminal. You can open a new terminal session directly in VS Code in your current working directory using CTRL + ` (control + backtick).
When you start a new terminal it uses your default shell, if you click the caret you can use a different shell if needed like PowerShell, Command Prompt, WSL or Git Bash.
What often happens though is you need multiple terminal sessions running at the same time like one for your test runner, one for your dev server, and so on.
To keep the terminal sessions organised click on the terminal session icon then change the name or the color of that session and now you don’t have to fumble between different terminals to figure out what each one is doing.
Now when you type out an actual command in the terminal and you screw it up you can use CTRL + <– / –> (control + arrows) to quickly navigate to a different part of the actual text because your mouse will not even work there.
But if you already hit enter and got an error message you can use CTRL + K to clear out the terminal then use the up arrow to go to the last command in your history and just rerun it instantly.
Tasks
What if there is a way so that you don’t have to write the same terminal commands over and over again like npm run start or npm run build.
To simplify things you can create a VS Code task which is just a JSON configuration that contains the command that you want to run in the terminal.
Now instead of pulling out the terminal and writing out the command you just use the command palette to run it automatically and it will show the name of that task in the terminal.
Git Source Control
One of the most common things you will do in the terminal is to execute commands for version control using Git.
Now not only are Git commands hard to remember but they can be very dangerous and painful when you mess them up.
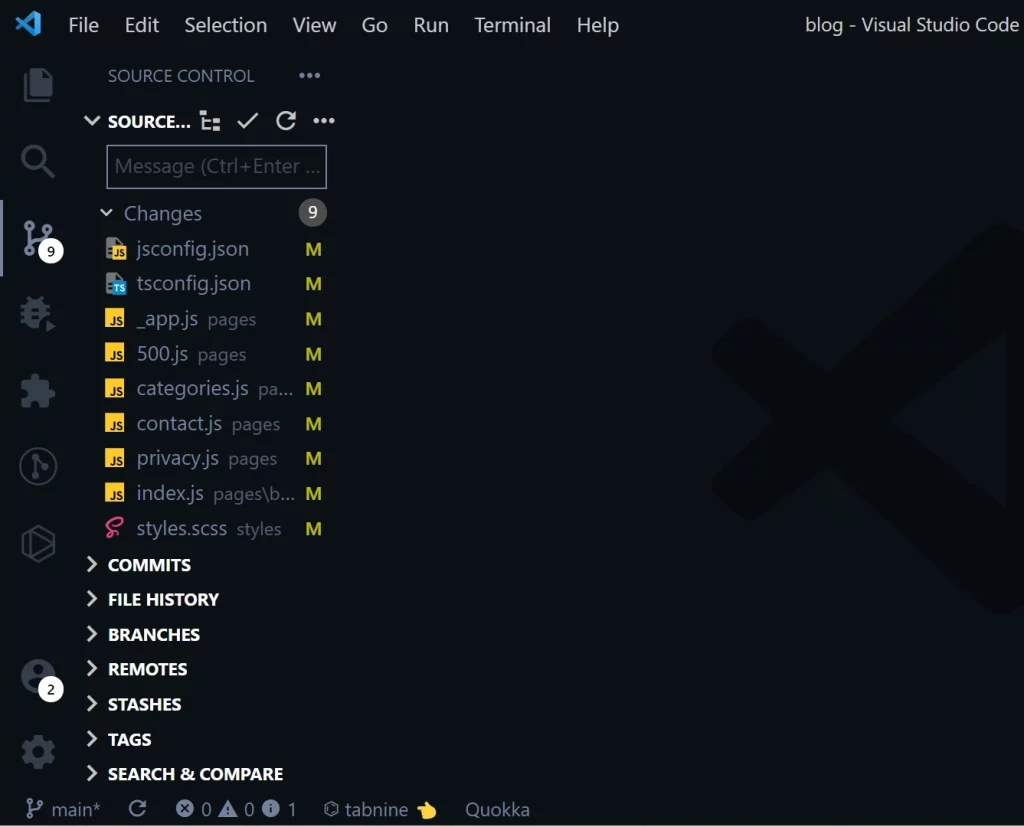
This is an area where it actually makes more sense to use your mouse as opposed to the keyboard in the source control tab in VS Code.
We get the breakdown of all the changes in our current working directory. We can just point and click at files that we want to stage and also the icon on each file will tell us whether that file has been modified, added or removed.
Now from the drop-down menu, we will get all the possible git commands. Most often we are only committing files but VS Code will give us a breakdown of all the possible commands without having to look them up in the documentation.
Git Lens Extension
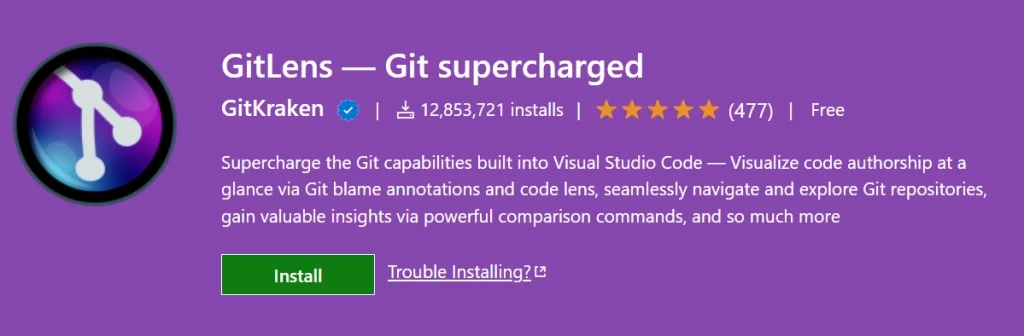
When you are working on a big complex project with other developers, I highly recommend installing the GitLens extension.
It provides a lot of extra ways to visualize and explore your code and most importantly it will tell you exactly who to blame when your code stops working.
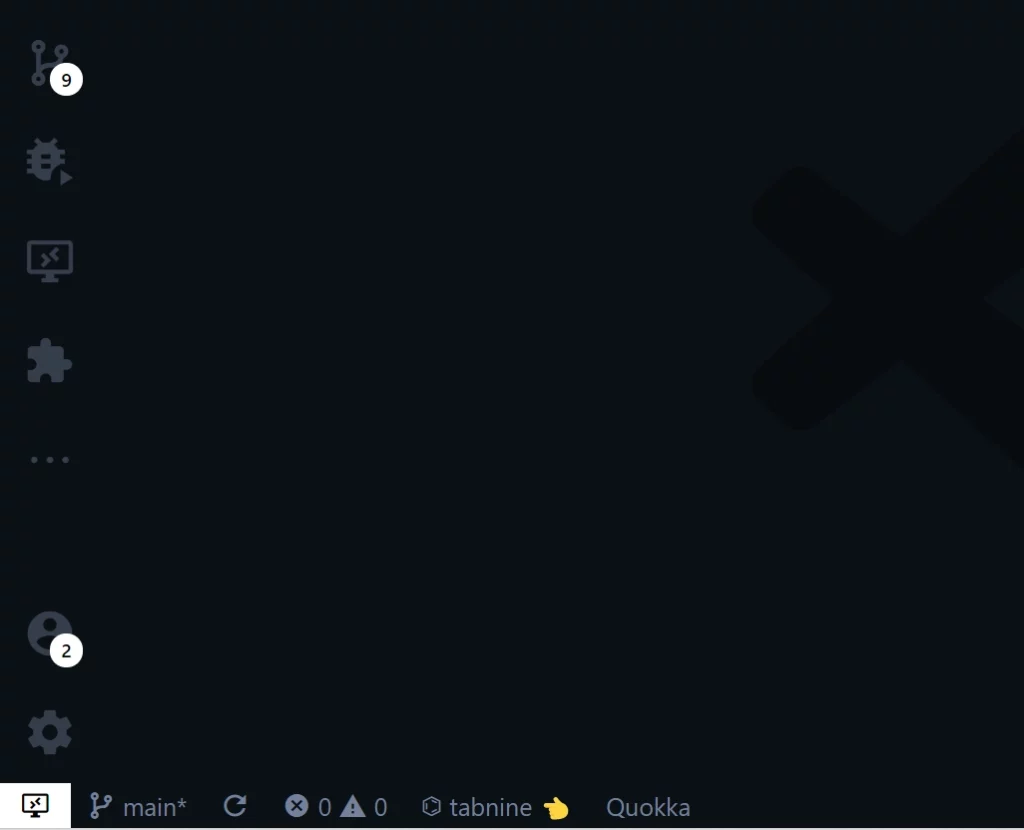
Remote Repositories
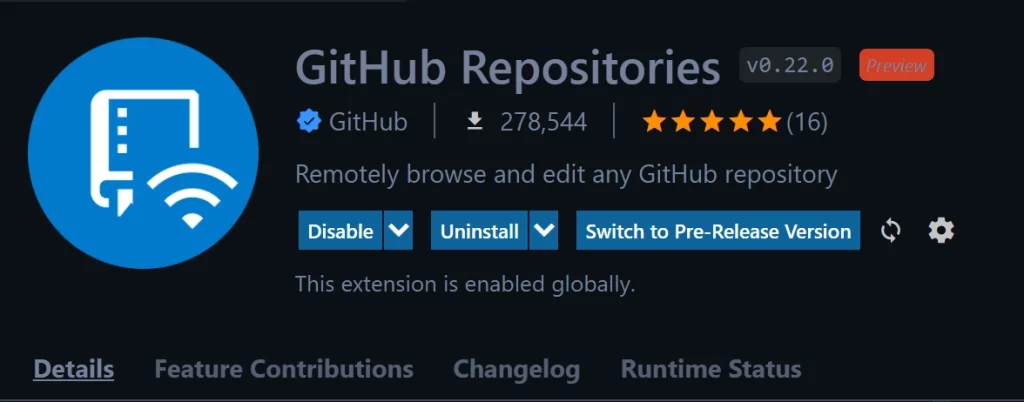
Normally when you want to work with a git repo on GitHub you need to clone it to your local system but now thanks to the monopoly that Microsoft has on the developer ecosystem this process can now be streamlined with the GitHub Repositories extension.
Install the extension then click on this icon in the bottom left corner to open up a remote repository.
It will have you log in with your GitHub account then you can start contributing to any repo on GitHub without needing to worry about complex git commands.
You create a new branch, edit some code and then submit a pull request without ever having to leave VS Code.
Remote SSH & Containers
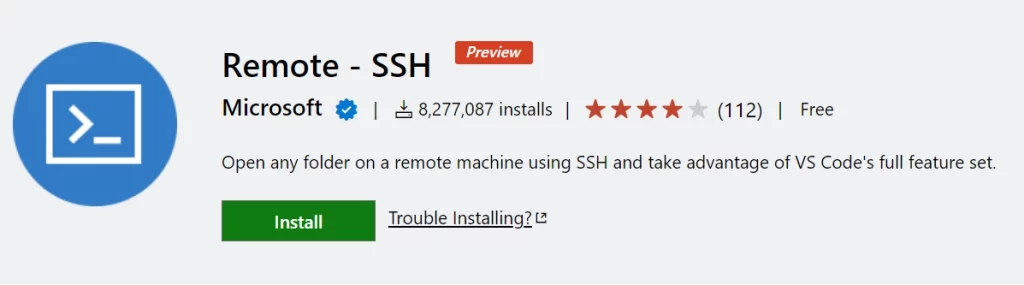
In addition to GitHub Repositories, you should also know about Remote SSH to connect to a remote server and also remote containers to use a docker container as your development environment instead of on your local system.
These extensions are managed by Microsoft and can turn your basic text editor into a full-blown integrated development environment.
Custom Snippets
In many projects, you may find yourself writing the same boilerplate code over and over again.
If you find yourself doing that an easy way to improve your productivity is to create custom snippets.
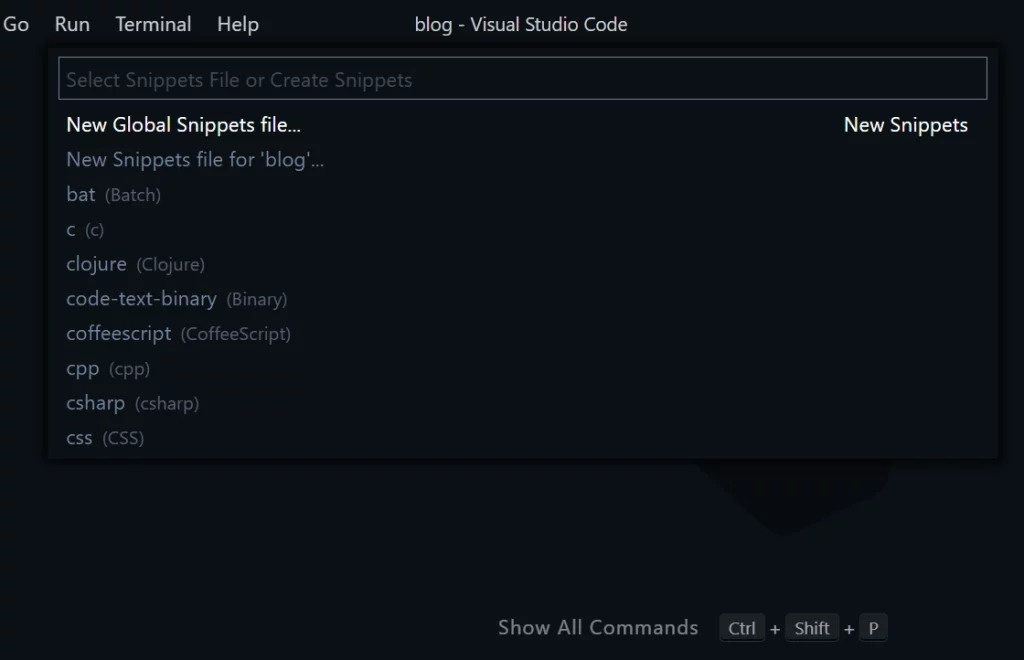
From the command palette, run the configure user snippet command, you can create global snippets to use across all of your projects or scope them to an individual workspace.
Basically, you just modify the JSON file with the code that you want to insert then when you go back to the main project you can use the insert snippet to quickly add your own custom boilerplate.
Community Snippets
If you work with a popular framework there’s a good chance that somebody already did this work for you.
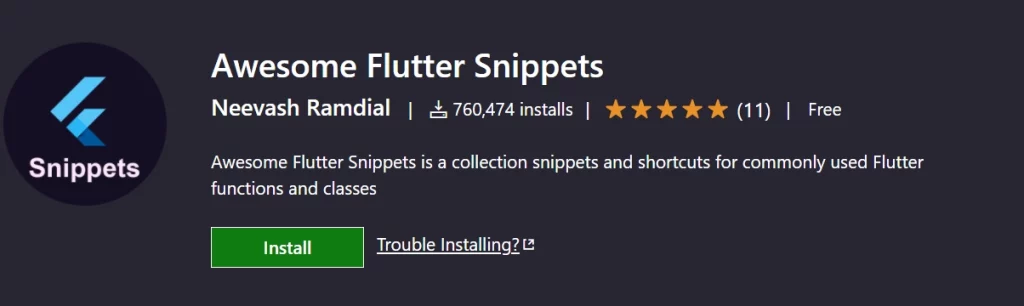
Before you go building your own custom snippets check out the extensions panel to see if there are any pre-built snippets out there that already meet your needs.
Auto-create directories
Here’s a cool random thing, if you need to create a new file in the file explorer in VS Code but it lives in a directory that doesn’t exist.
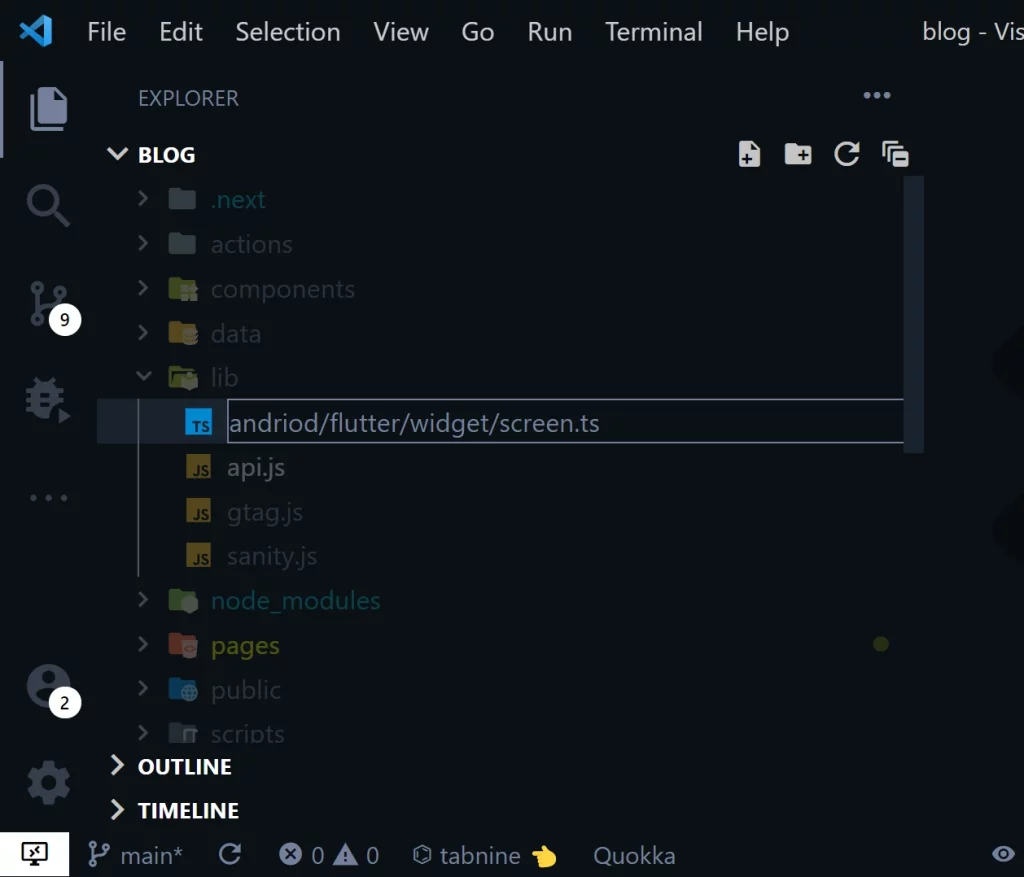
You can create that file along with any nested directories on top of it automatically by just putting a slash in front of the file name and VS Code will automatically create those directories.
Paste as JSON
Another awesome tool is the Paste JSON as Code extension. If you work with Typescript one extremely tedious thing you might have to do is take a JSON and convert it to a bunch of types to represent some kind of schema.
This VS Code extension will take your JSON and automatically infer types using a tool called quick type and in some cases that can save you hours of work.
Rename Symbol
Naming your code is hard which means that you’ll often be renaming things. When you name something poorly your first idea might be to do find and replace it across your whole project but that can be kind of dangerous.
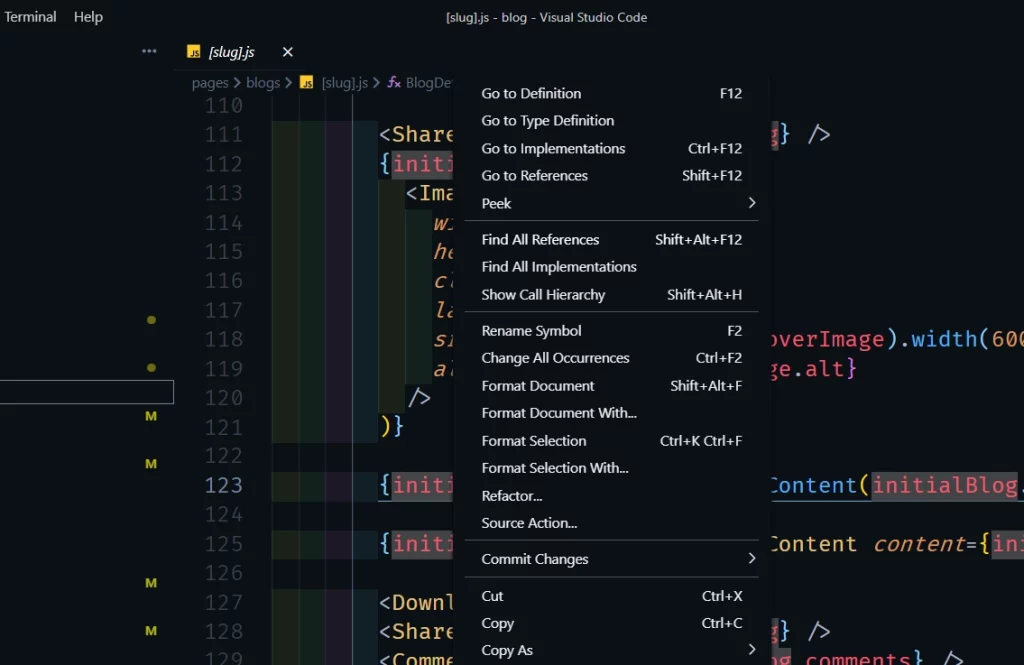
A better idea is to find the thing you want to rename then if you right-click it you can Find All its References or its implementations.
Then from there, you can use the Rename Symbol option to simply rename it across all of your files.
Thanks for your tips.
Shortkeys really let you improve your development speed.